👥🛠️ Account Members Management
This guide will walk you through how to manage members within your Truora account — including how to edit member details, delete members, and enable or disable access. Whether you’re keeping your team list up to date or managing user access, this guide will help you stay in control.
- You must have Full Access permissions to manage members.
- Deleting or disabling a member will prevent them from accessing your Truora account.
🛠️ Managing Account Members
To edit, delete, enable, or disable members in your account, start by accessing the Members and Roles section:
-
Go to Truora Dashboard.
-
Enter your e-mail username and password, and press Get in.
-
Select the account where you want to manage members:
- If you’re associated with only one account, the product view will load automatically.
- If you’re associated with multiple accounts, a list will appear — select the one where you want to manage members.
-
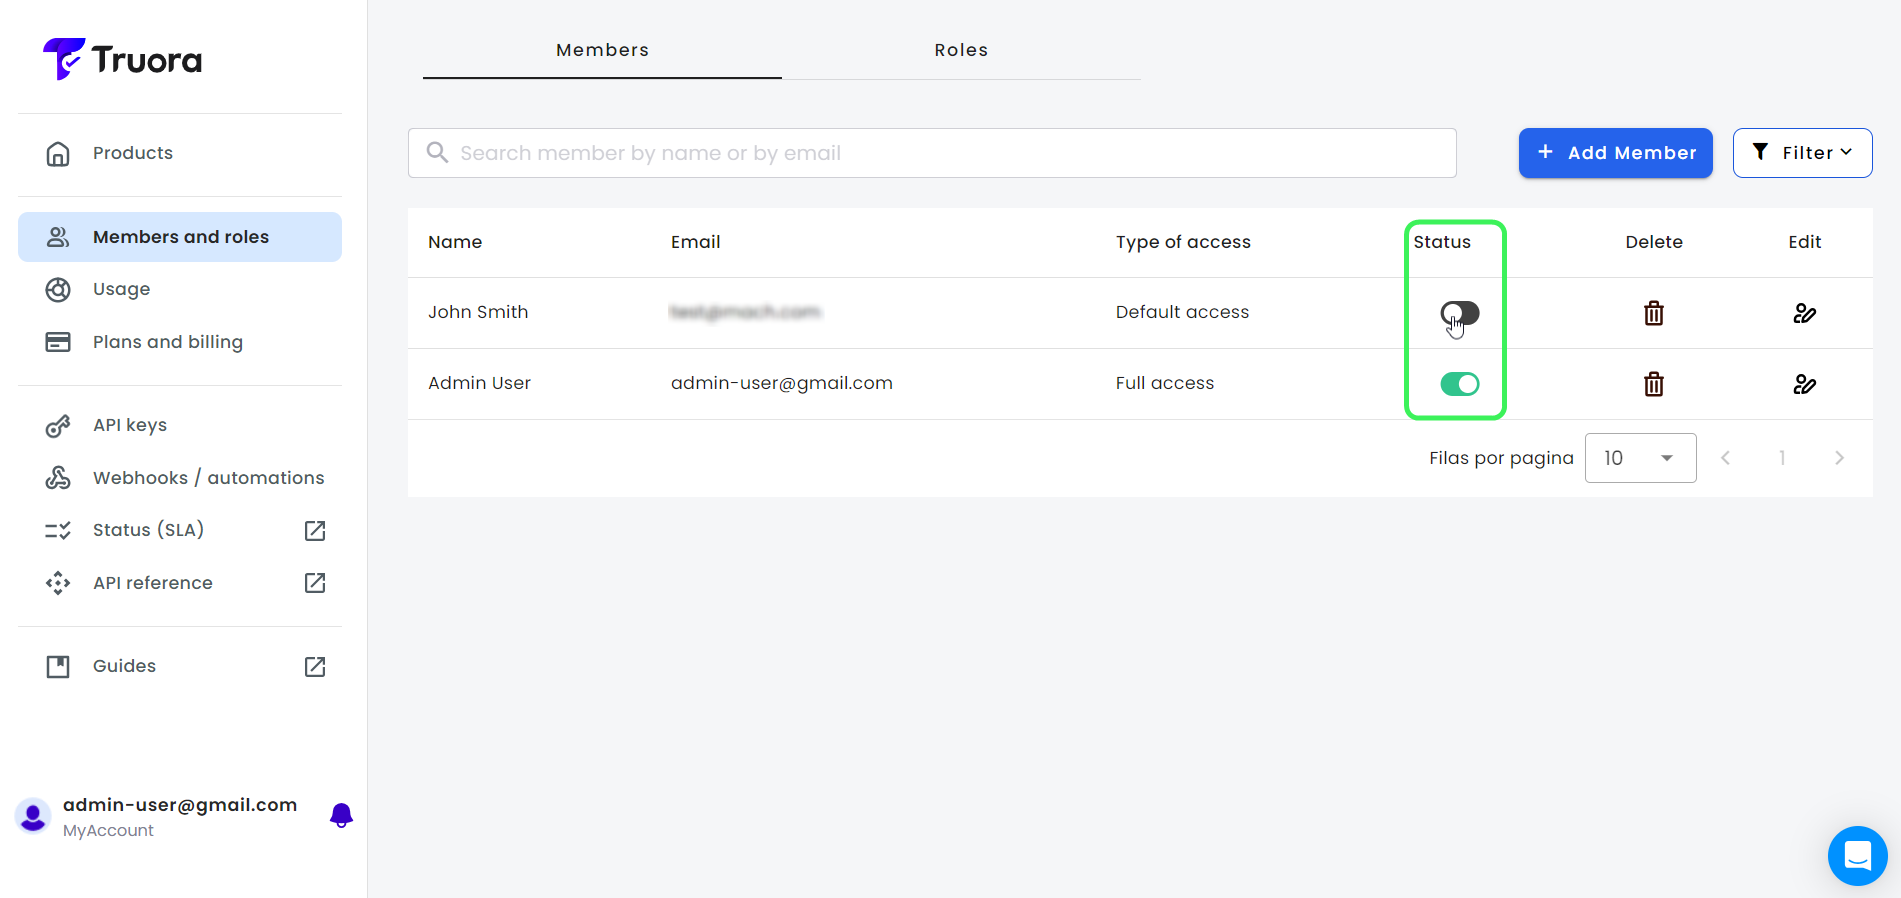
In the product view, click Members and Roles in the sidebar. This will load a list of all members associated with your account.
-
Alternatively, if you’re already navigating inside one of our products, you can access the Members and Roles section by clicking your account name at the bottom, then selecting Members.
✏️ Editing Members
-
In the Members and Roles view, locate the member you want to update and click the Edit icon in the Edit column.
-
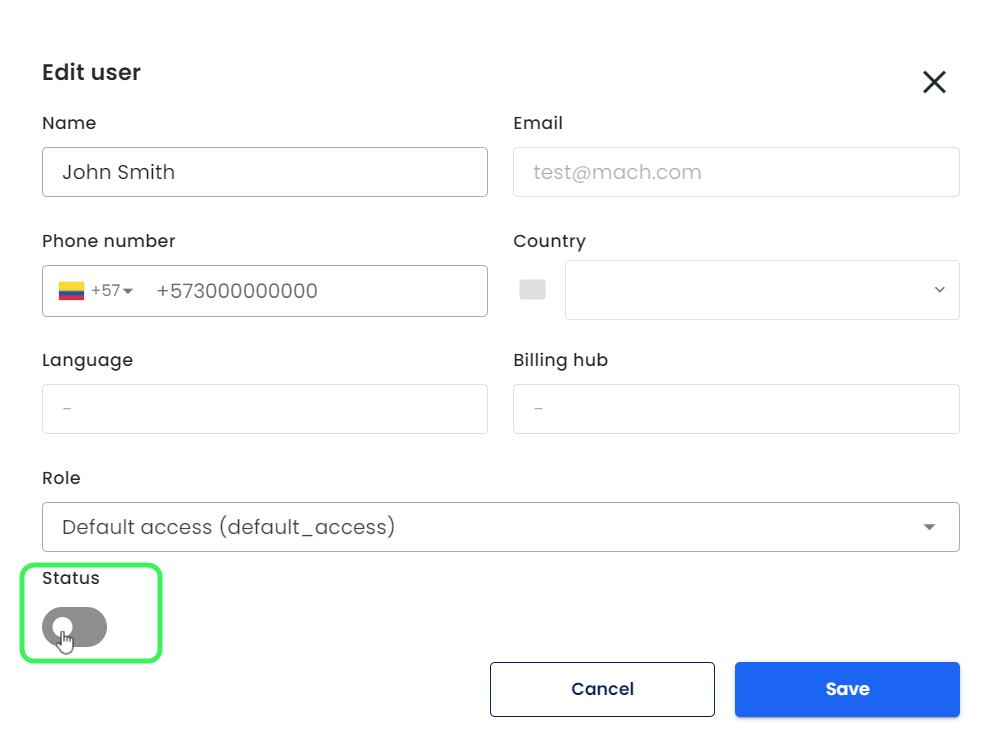
You may update the member’s name and role:
- Default Access: Can create/modify queries, validations, and flows, and view results. No access to member management or API keys.
- Full Access: Grants full permissions, including member and API key management.
- Another Role (custom roles): If available, these roles are tailored to specific permission needs defined by your organization.
🔁 Disabling or Enabling Members
-
In the Members and Roles view, locate the member you want to disable or enable, and click the Toggle button in the Status column.
-
Alternatively, when editing a member use the Toggle button at the bottom of the editing modal to disable or enable the member.
When disabling or enabling a member, a Deactivate Member or Activate Member modal will appear, depending on the action. You’ll be required to provide a reason, then click the corresponding Deactivate or Activate button to confirm.
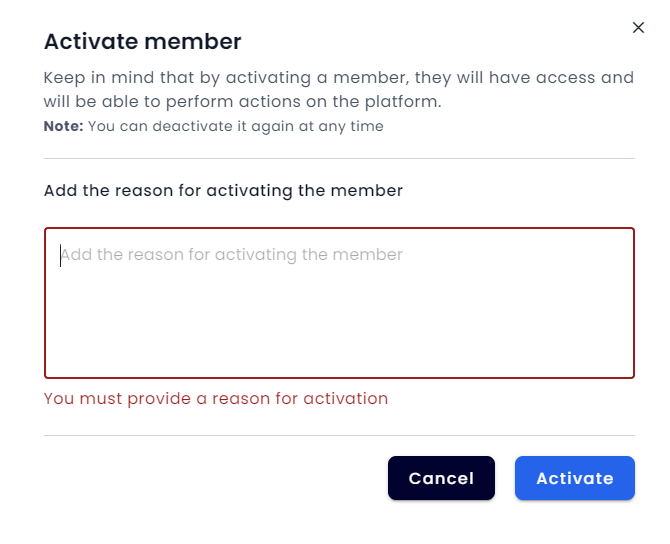
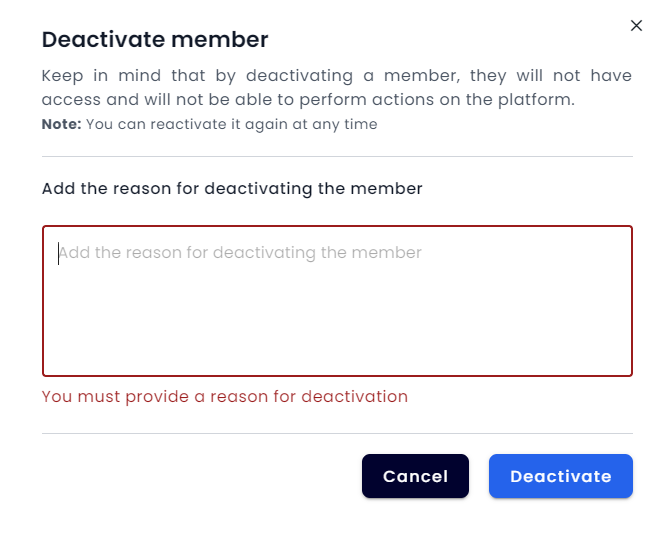
Keep in mind that deactivated members lose access to the platform and cannot perform any actions.
Note: You can reactivate a member at any time.
🗑️ Deleting Members
- In the Members and Roles view, locate the member you want to delete and click the Trash icon in the Delete column.
- Confirm that the selected member is correct, then click the Delete button.
Notes:
- Once a member is deleted, they will no longer have access to Truora.
- This action cannot be undone.