Labels
Labels provide a way to filter Background Checks information using rules based on conditional expressions. By adding labels as metadata to the Background Checks, you can categorize and classify the data associated with each check.
You can define specific rules and conditions based on the assigned labels to filter and organize Background Checks according to your needs. This filtering capability allows for more efficient data retrieval, making it easier to access relevant information when necessary.
How to configure labels?
- Login into the Truora’s platform.
- In the sidebar, select Webhooks/Automations.
- Click on the ‘New Rule’ button.
- Assign the name of the rule, and if you wish, you can add a description.
- Select the product ‘Background Checks’ and the sub product ‘Check’.
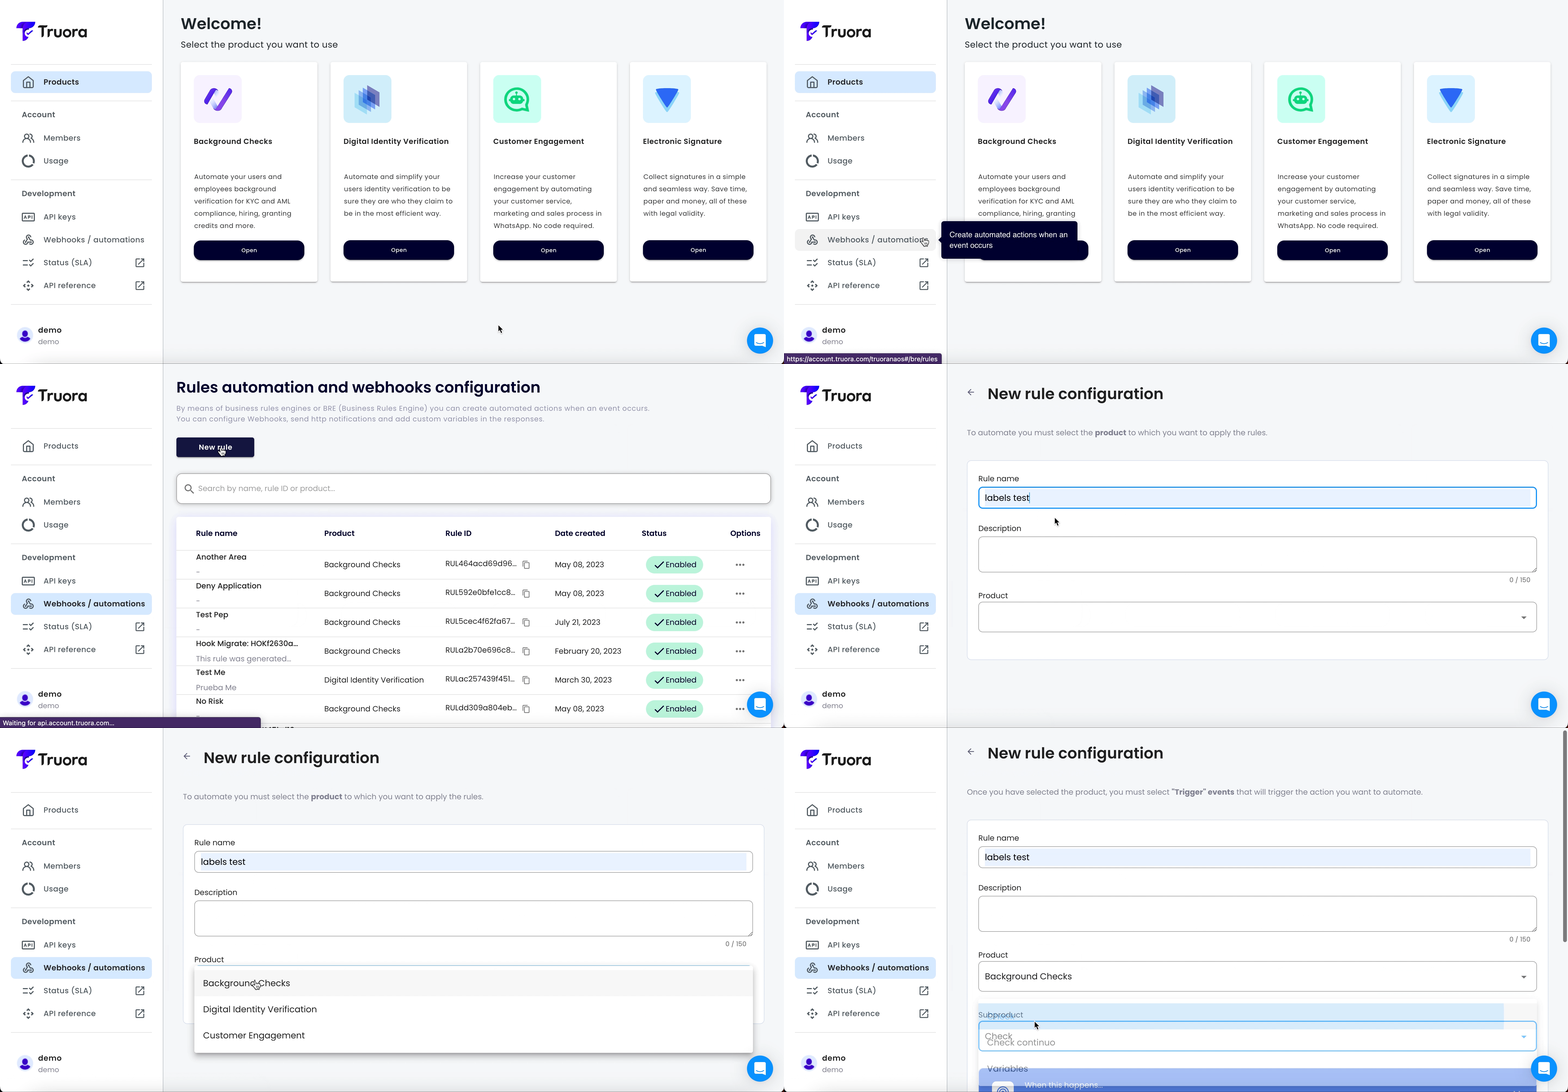
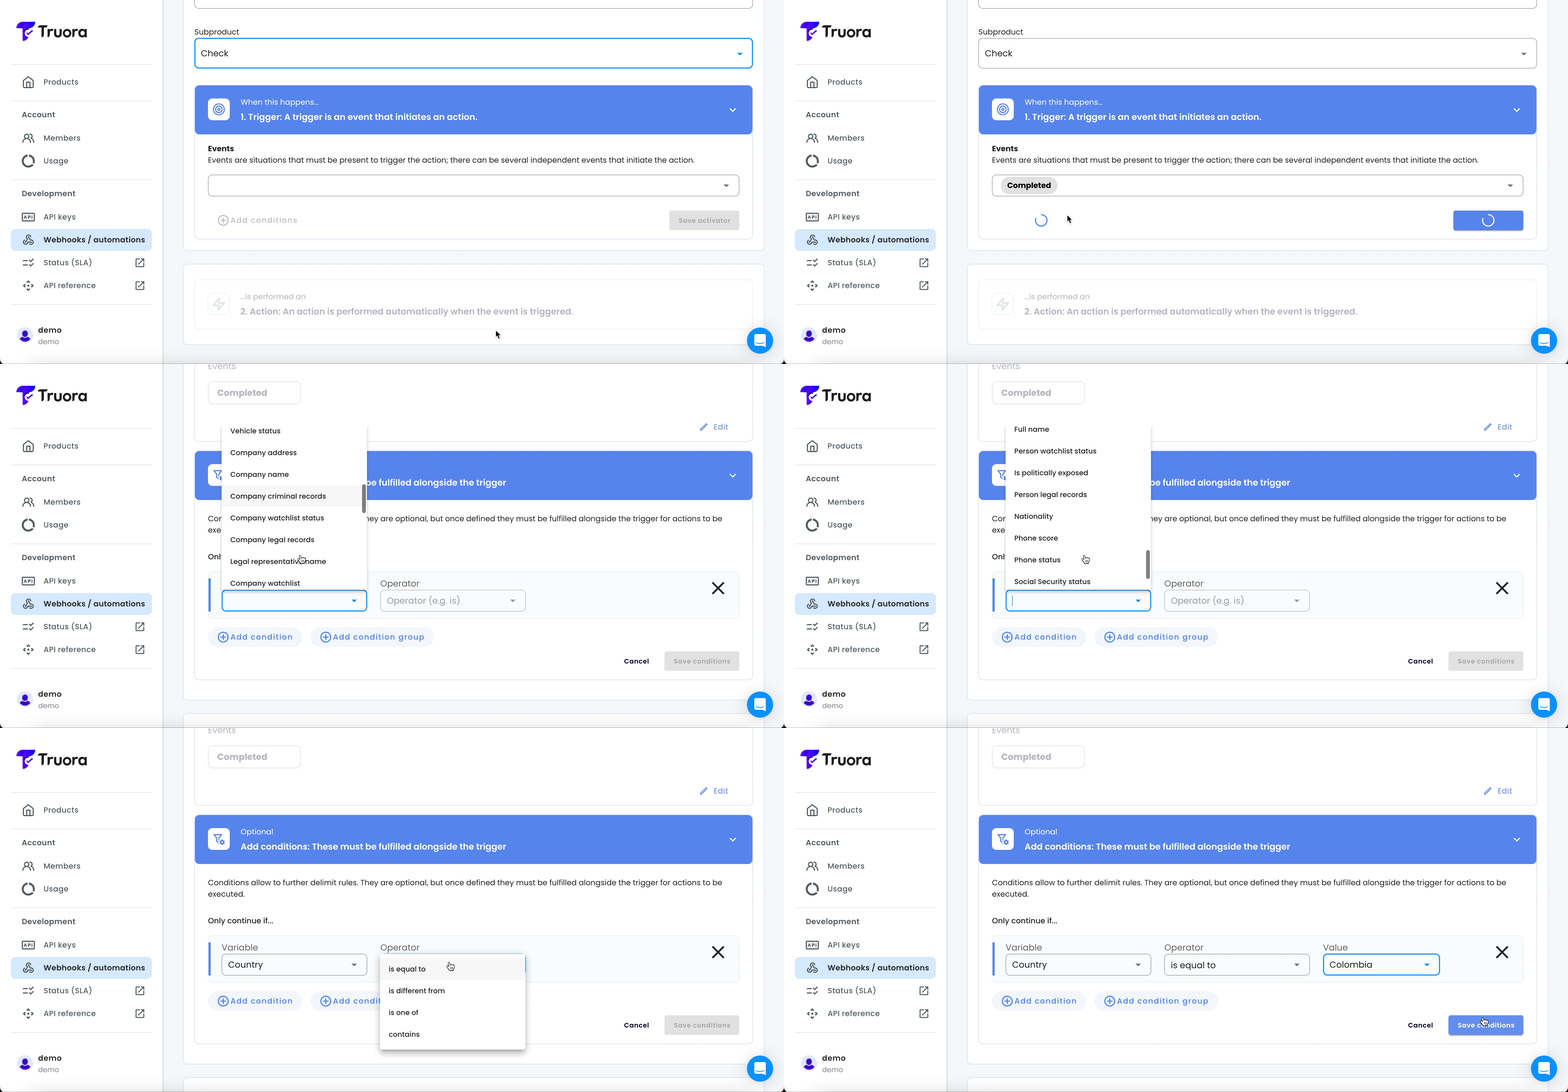
- Select the event. Check has four events that you can choose
- Create: It happens once the check has been successfully created and is ready to start processing, at which point it enters the queue for further processing.
- Started: When the check starts to be processed.
- Completed: When we have the final response of the check.
- Delayed: When a check is delayed, and we are retrying the check.
- Add Conditions based on events and variables. (List of events and their variables)
- Save Conditions.
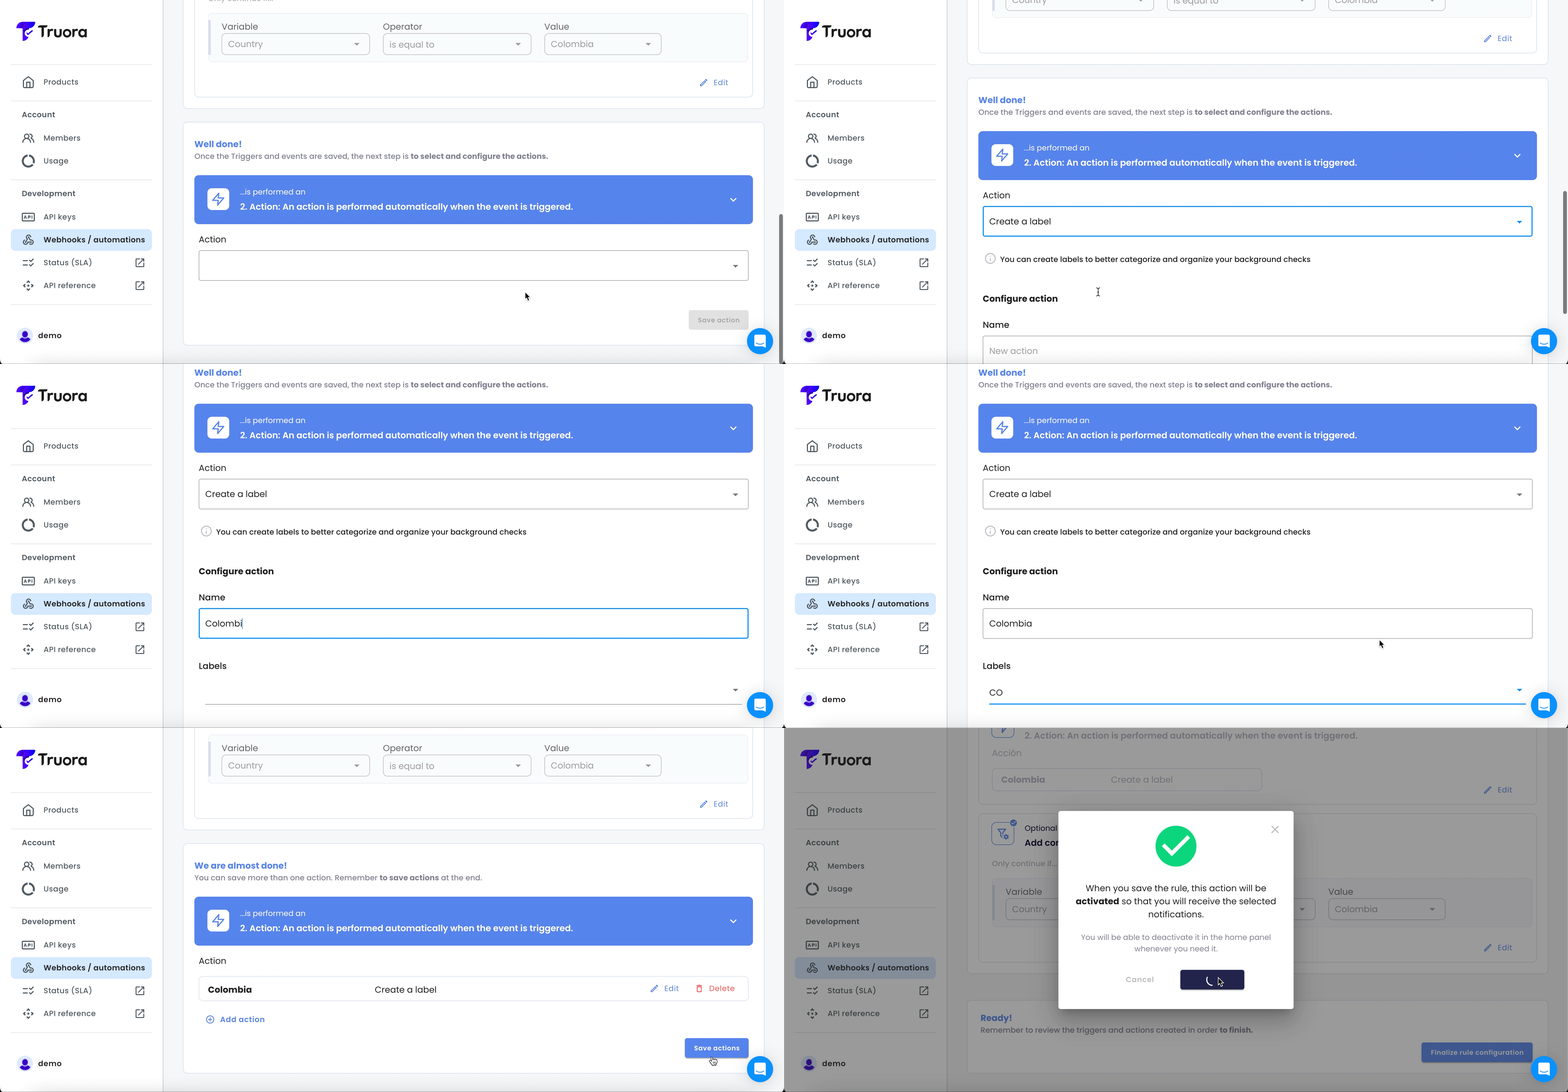
- Configure “Create a Label” action.
- Add a identifier name
- Add the tag
- Press the enter or return key
- Save the rule.
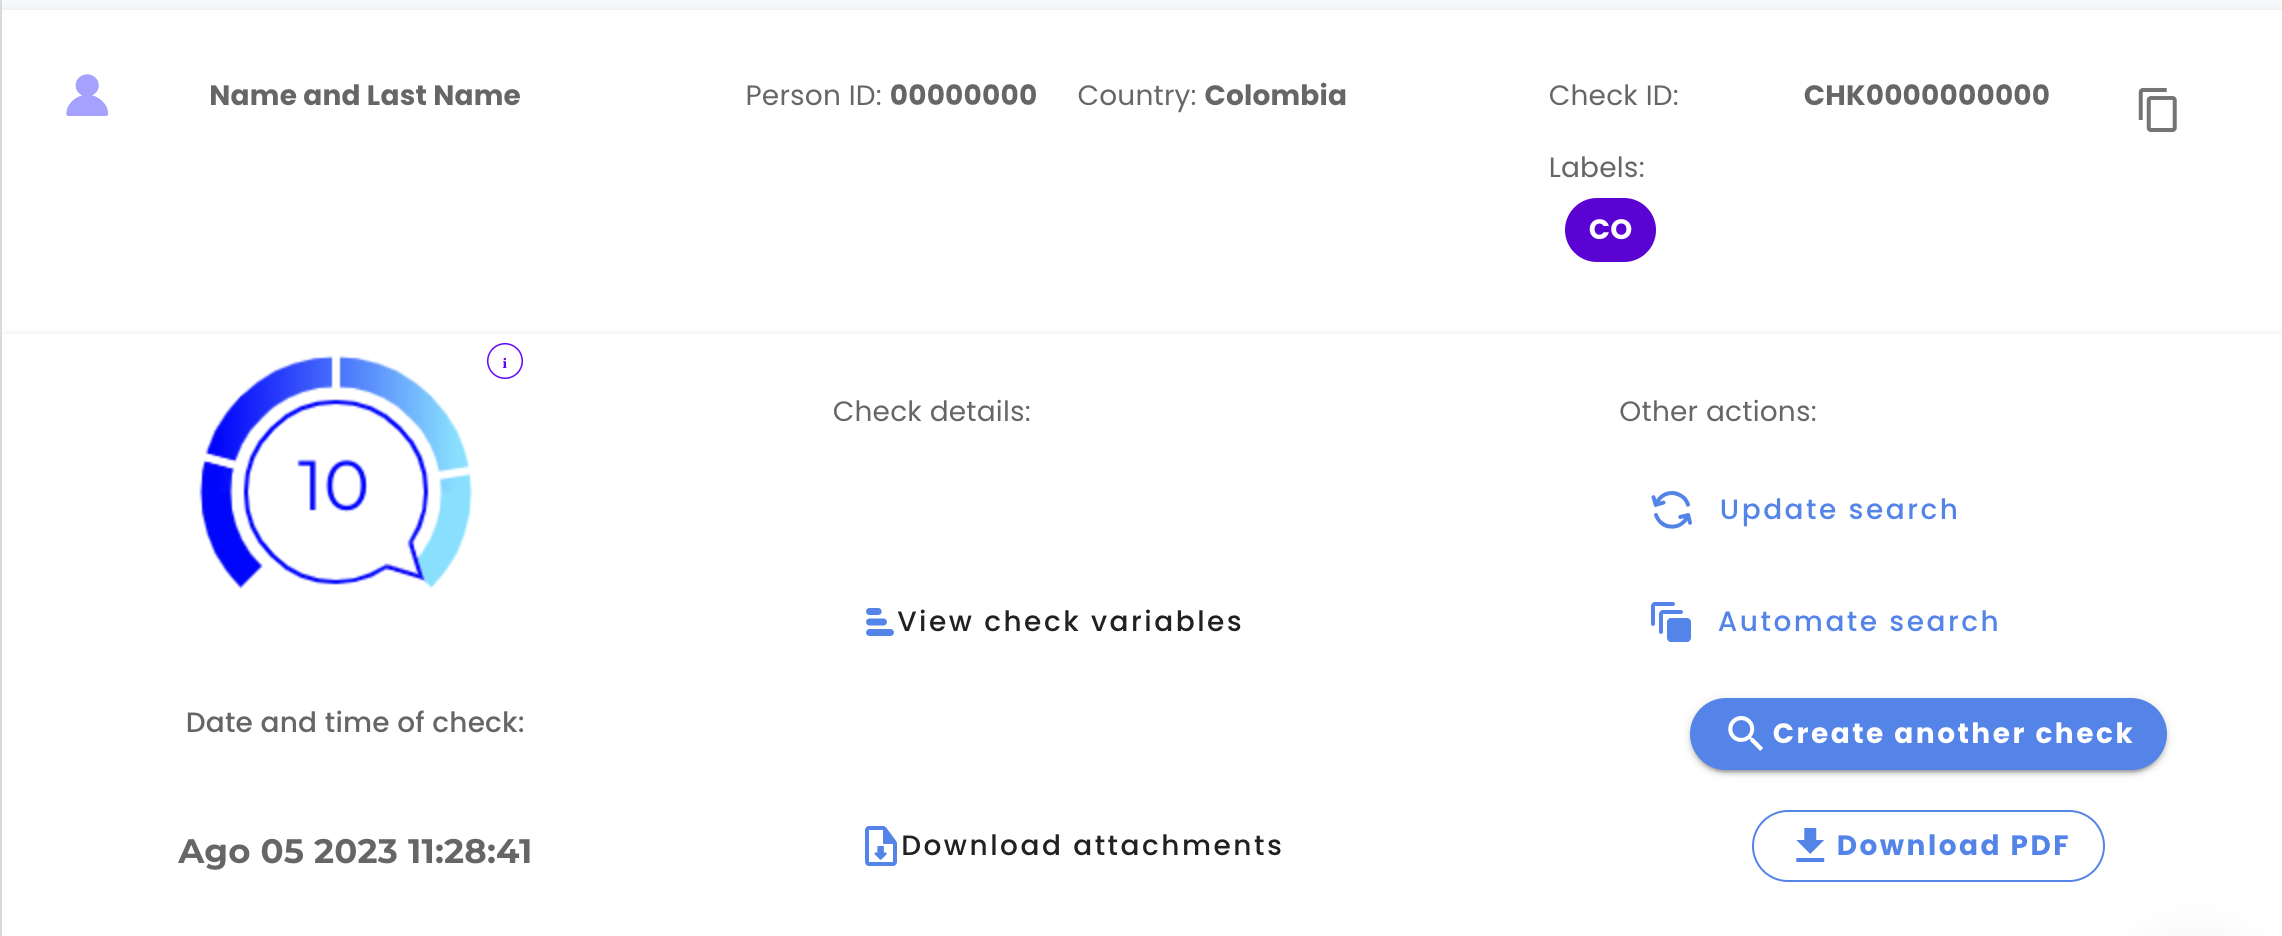
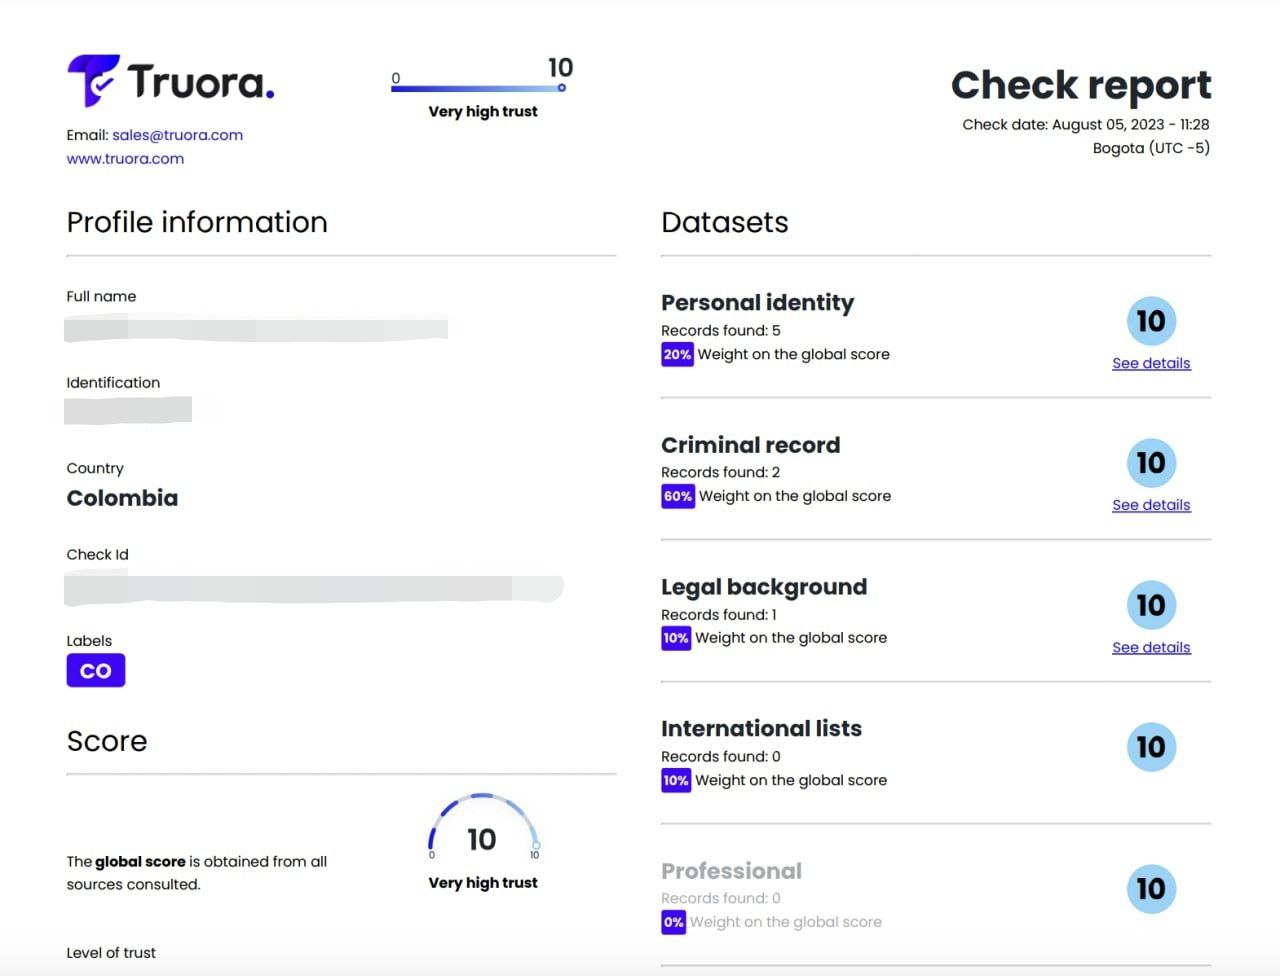
What do the labels look like on the checks?
Dashboard
API
In Get Check endpoint response look for the labels field.
200
