Create a WhatsApp <> Zendesk Integration
Zendesk has become one of the leading CRMs in the world. This tool manages various modes of communication between customers and companies through a ticketing system. It includes communication channels such as email, phone calls, WhatsApp conversations, and interactions on social media platforms. In this way, all the information regarding interactions with each customer is gathered in a single ticketing tool.
Next, you will learn how to integrate and use Zendesk through its chatbots.
Step 1: Login in Truora Account
- Login into your existing account at https://account.truora.com/#/auth/login.
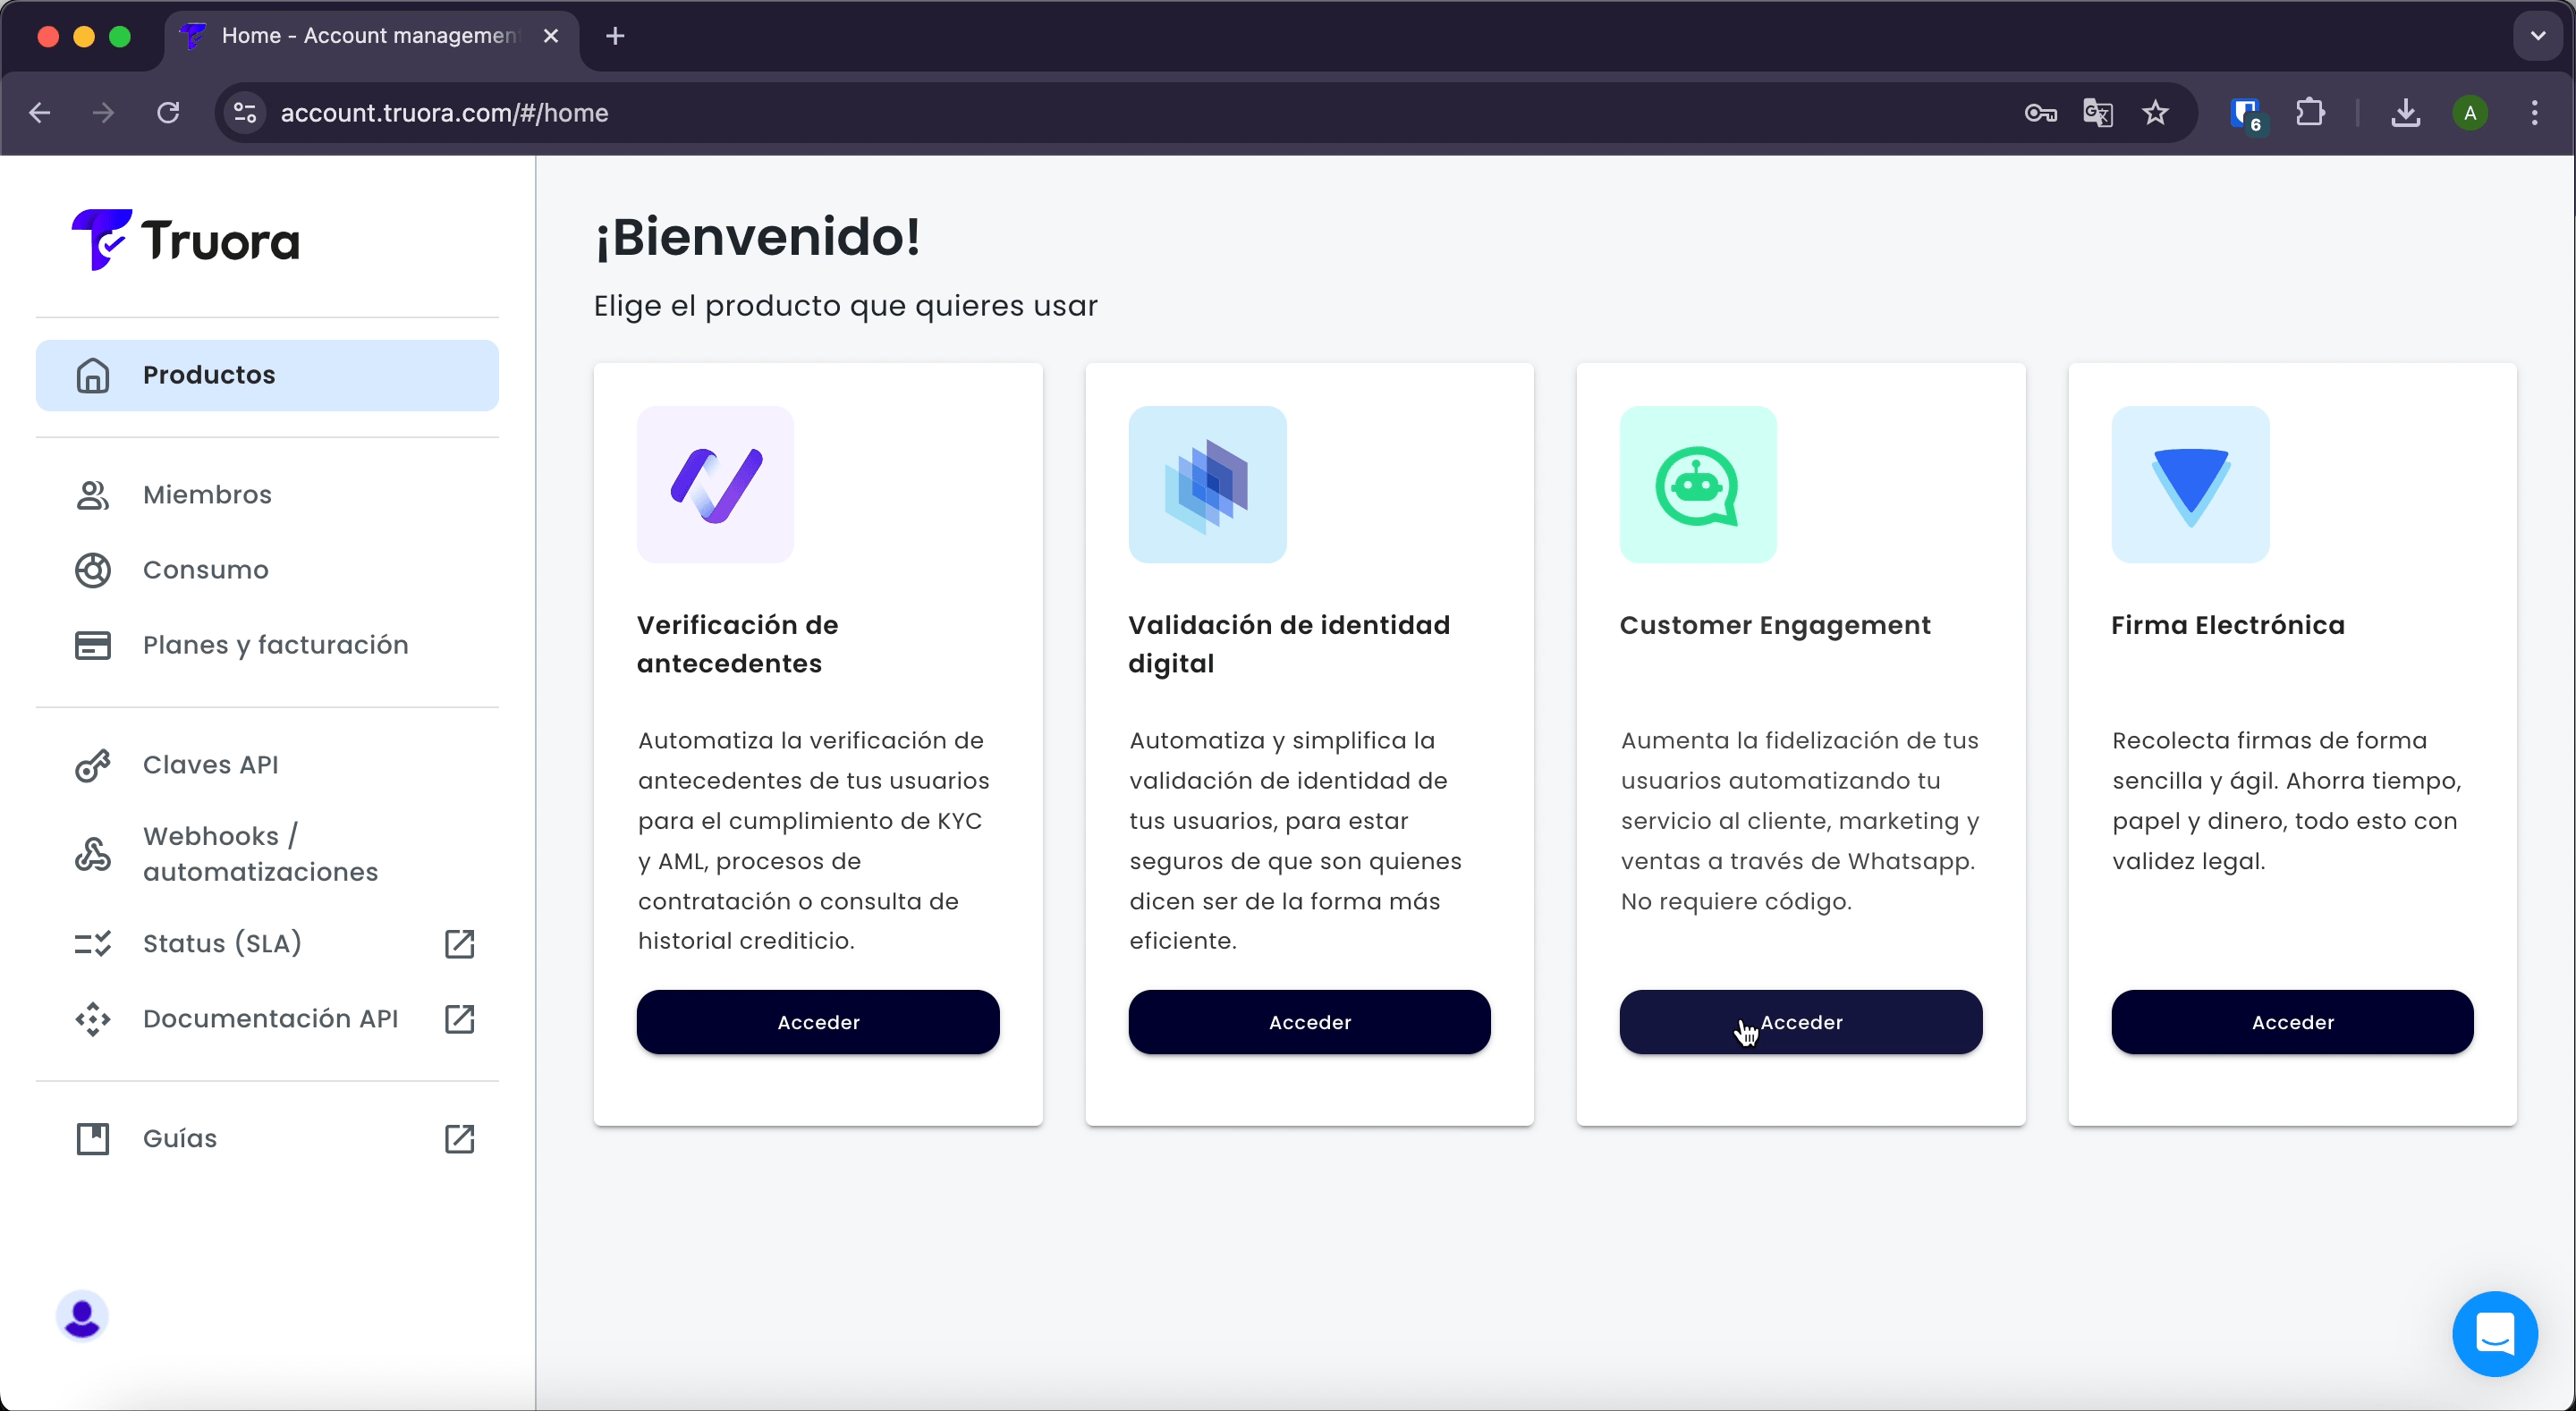
- In the products view select, “Customer Engagement”.
Step 2: Connect Your Truora Account to Zendesk
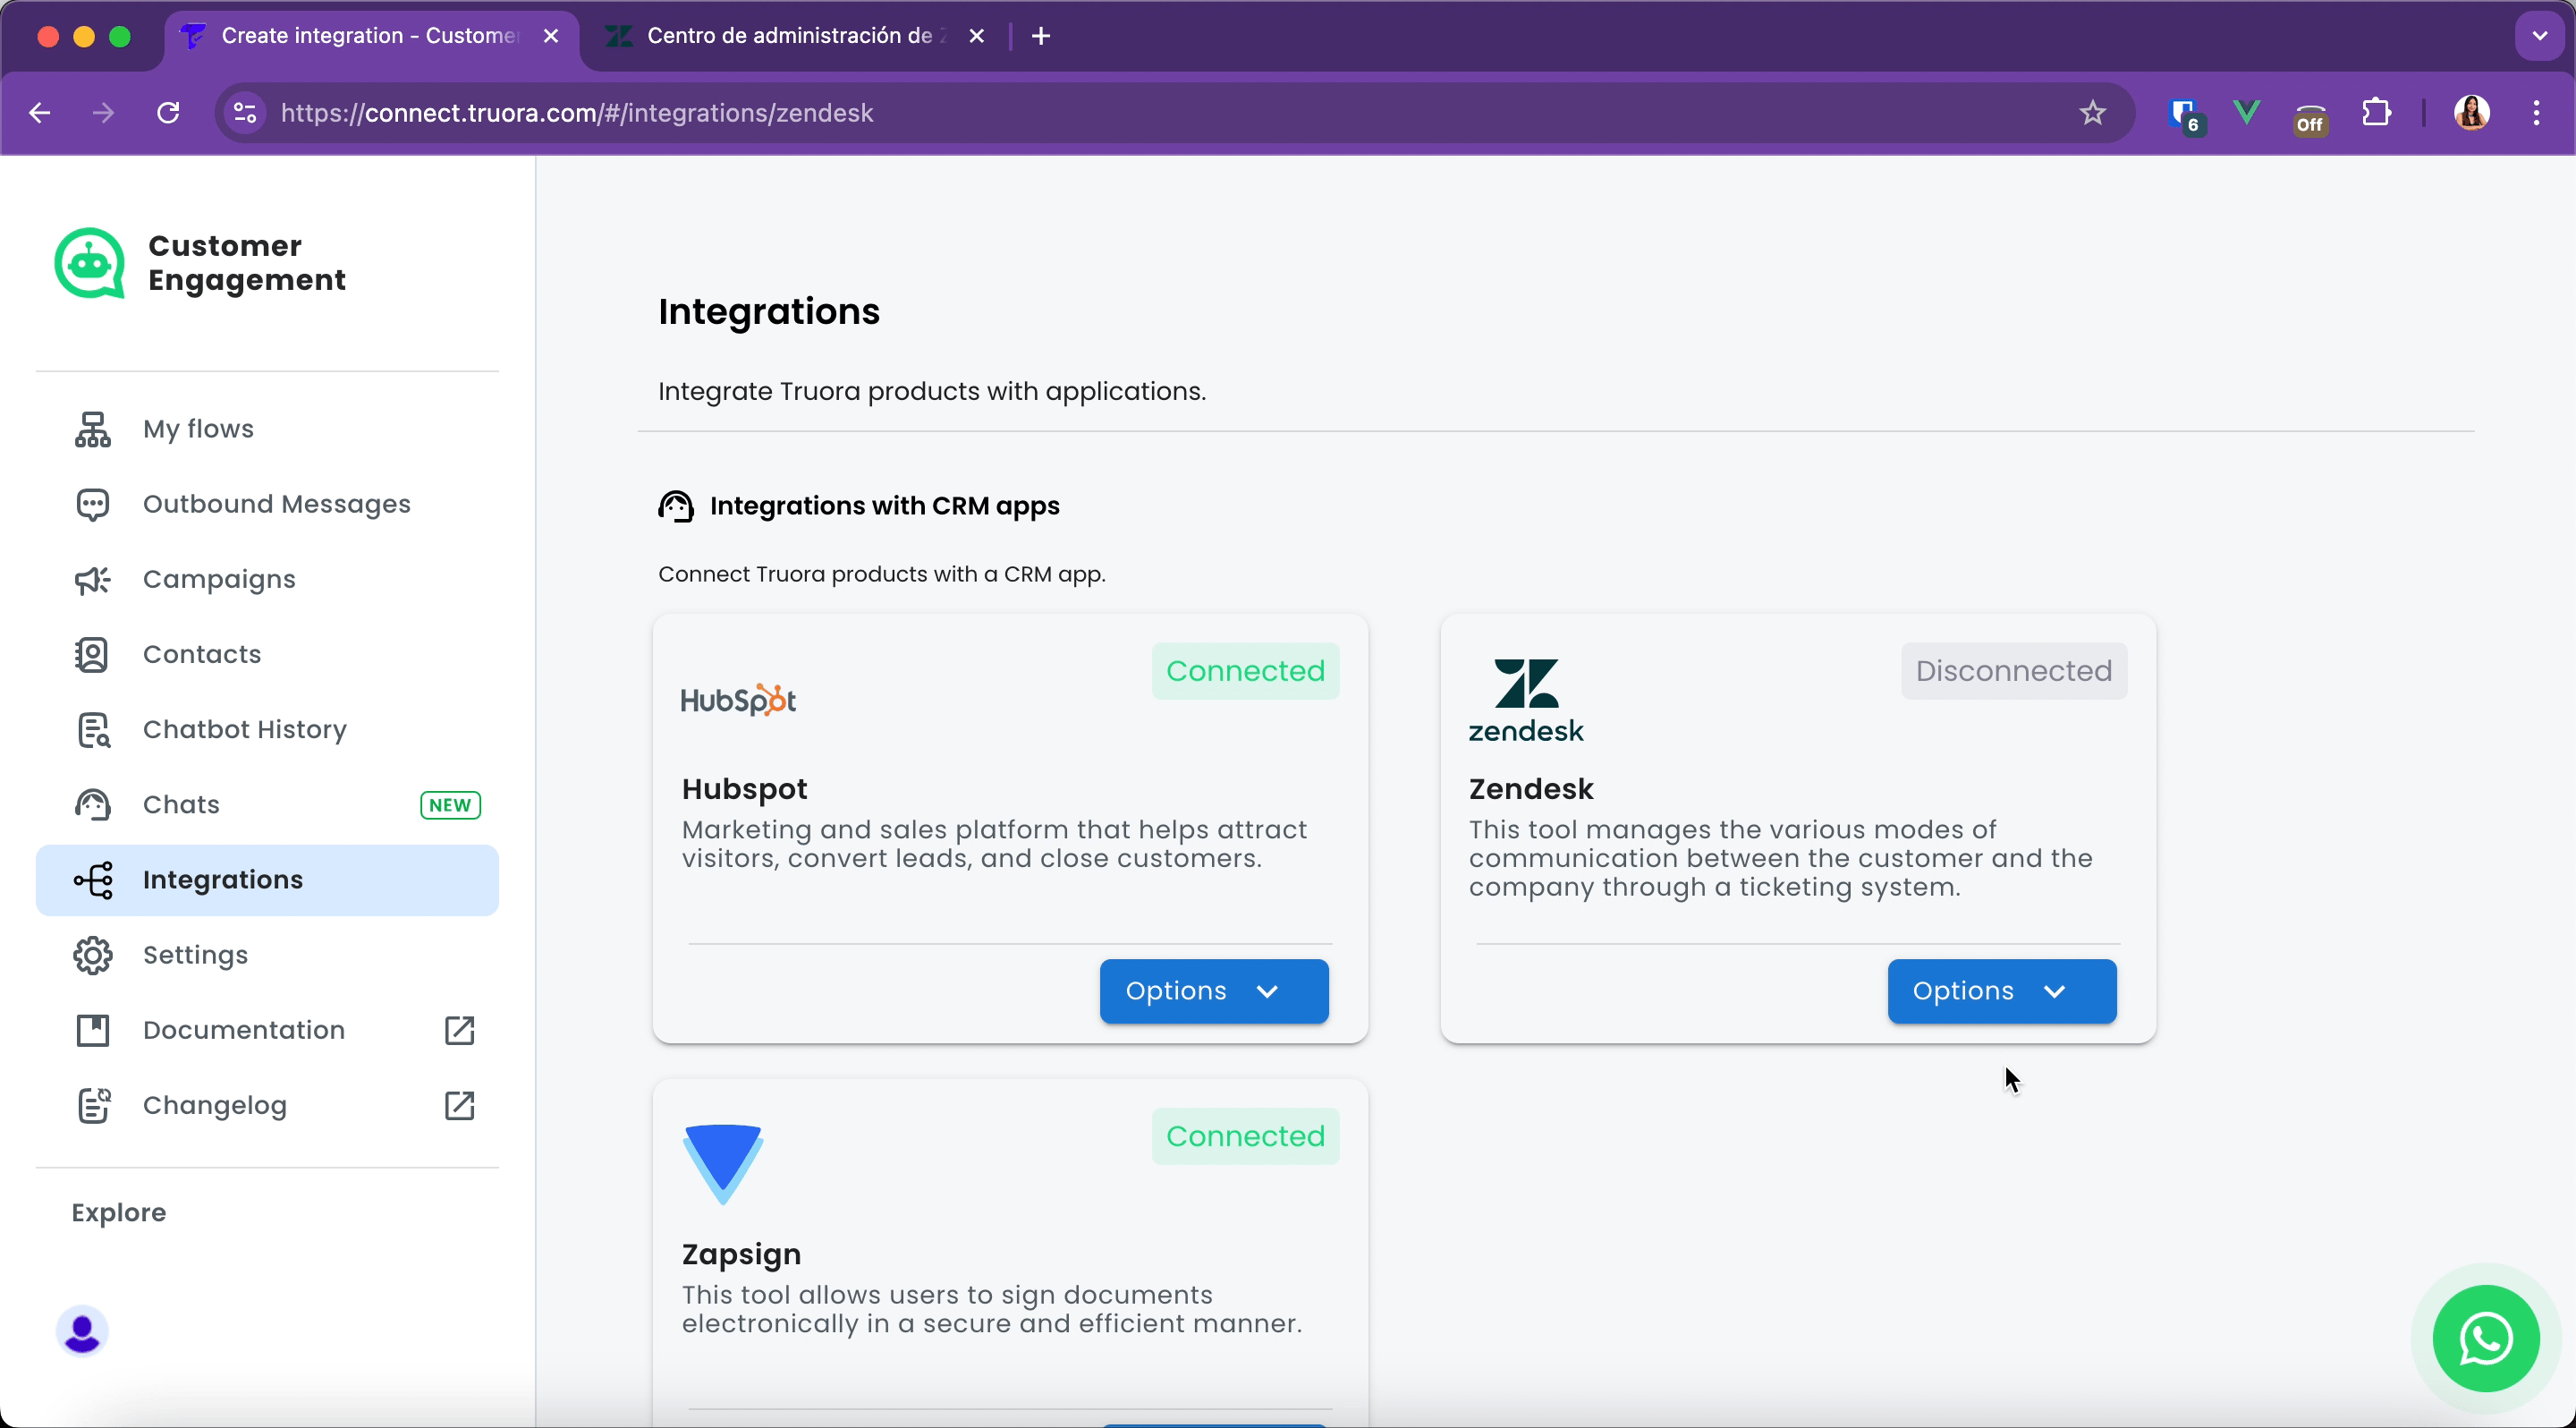
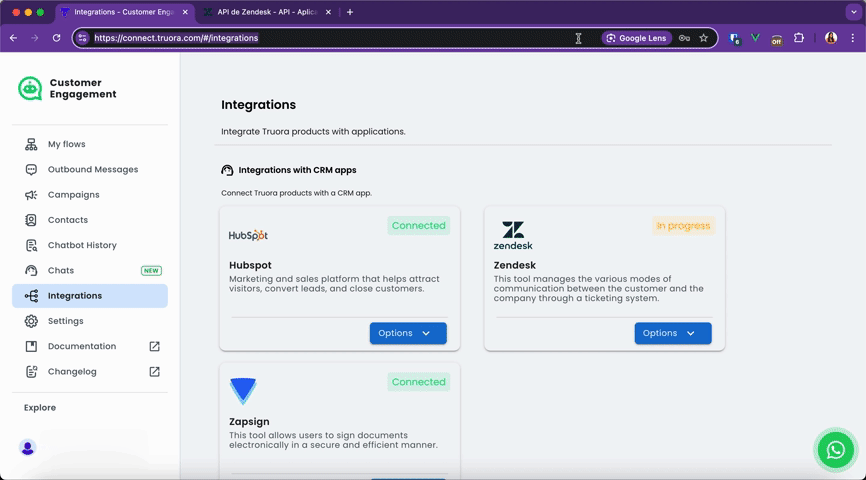
- Once in the “Customer Engagement” view, navigate to the “Integrations” section in the left panel.
- Click “Connect” in front of the Zendesk logo.
- Go to Zendesk Admin Dashboard to get the necessary information to complete the connection process.
- Add the Zendesk subdomain.
- Add the Zendesk API Token.
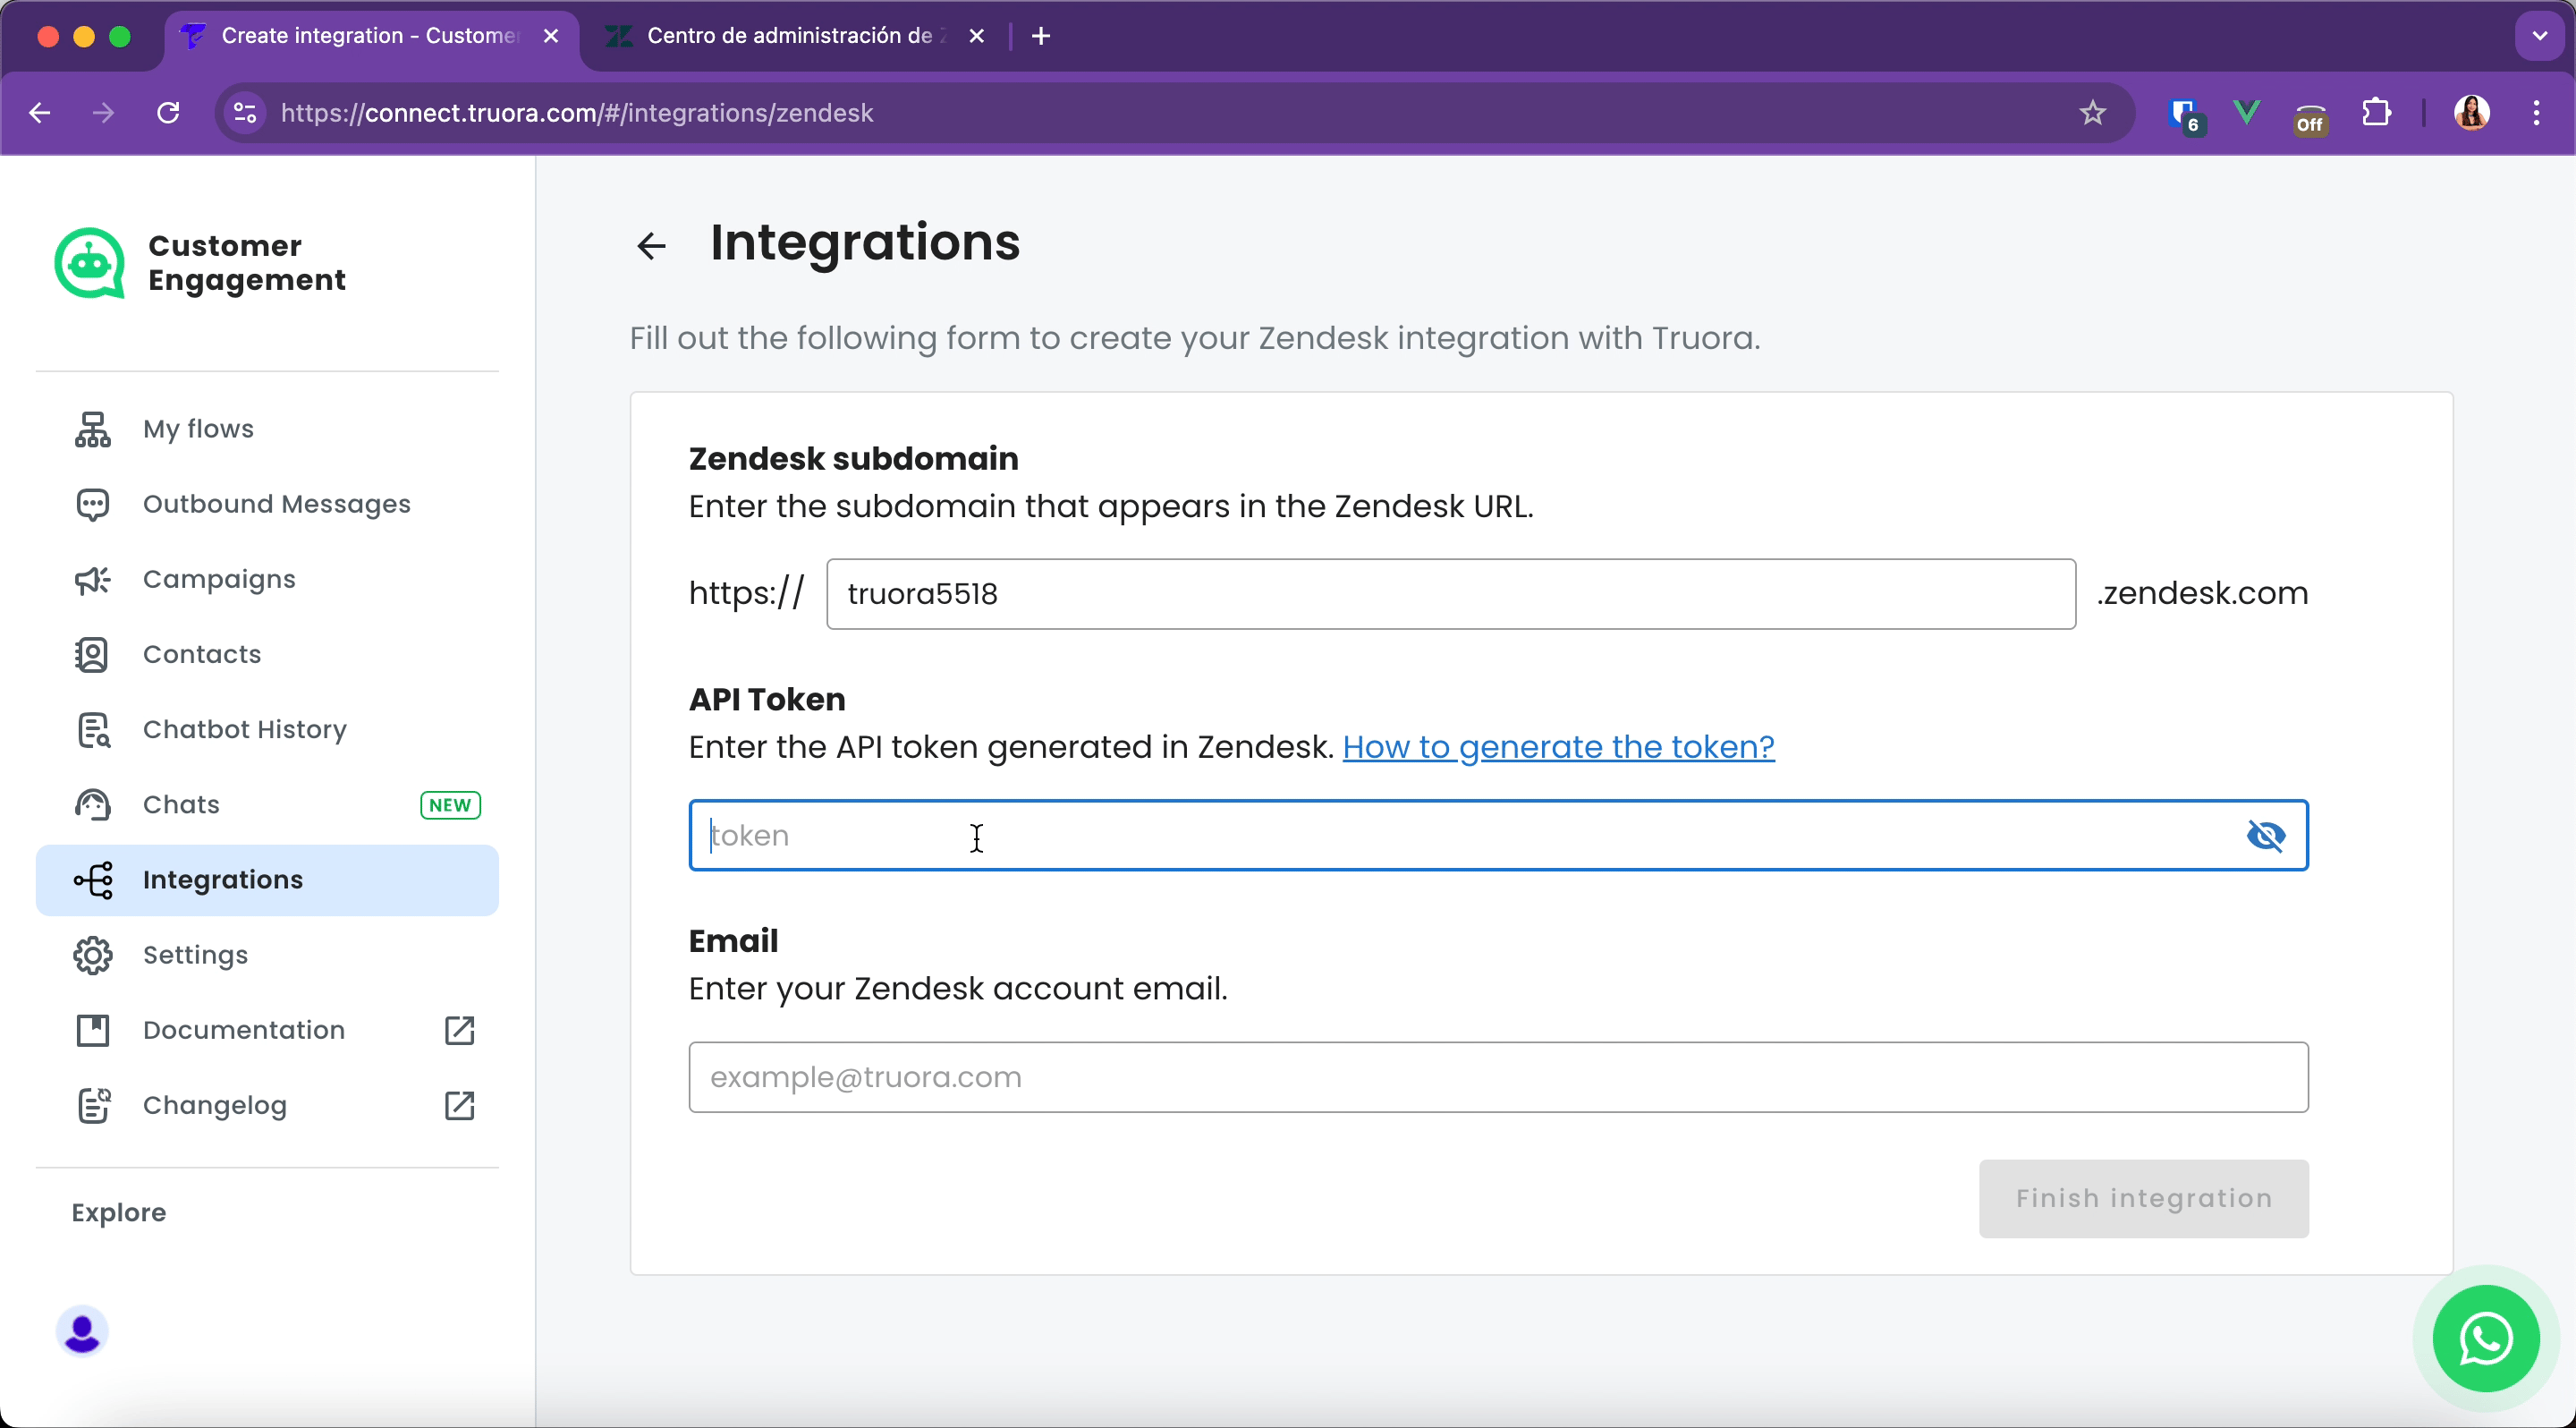
- Add the Zendesk account email and finish the integration.
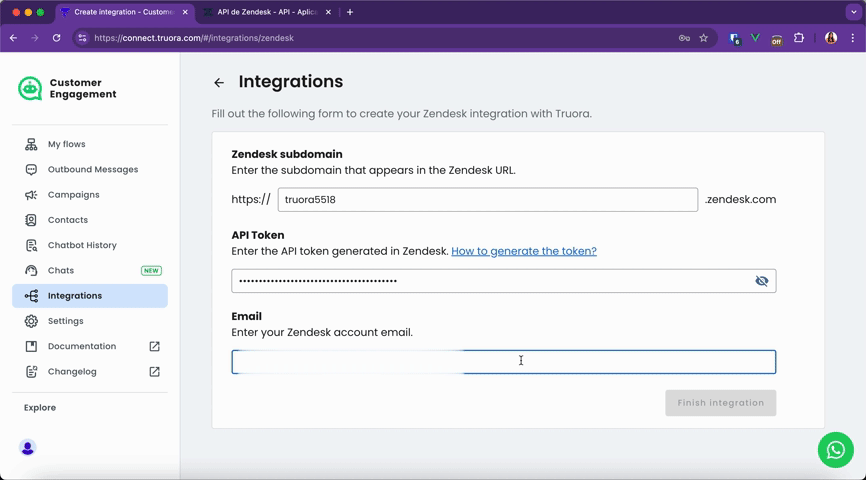
- Verify the Truora <> Zendesk integration.
Step 3: Create Your First WhatsApp Flow
- Go to the “Products” section in the left panel and click “Open” under TruConnect.
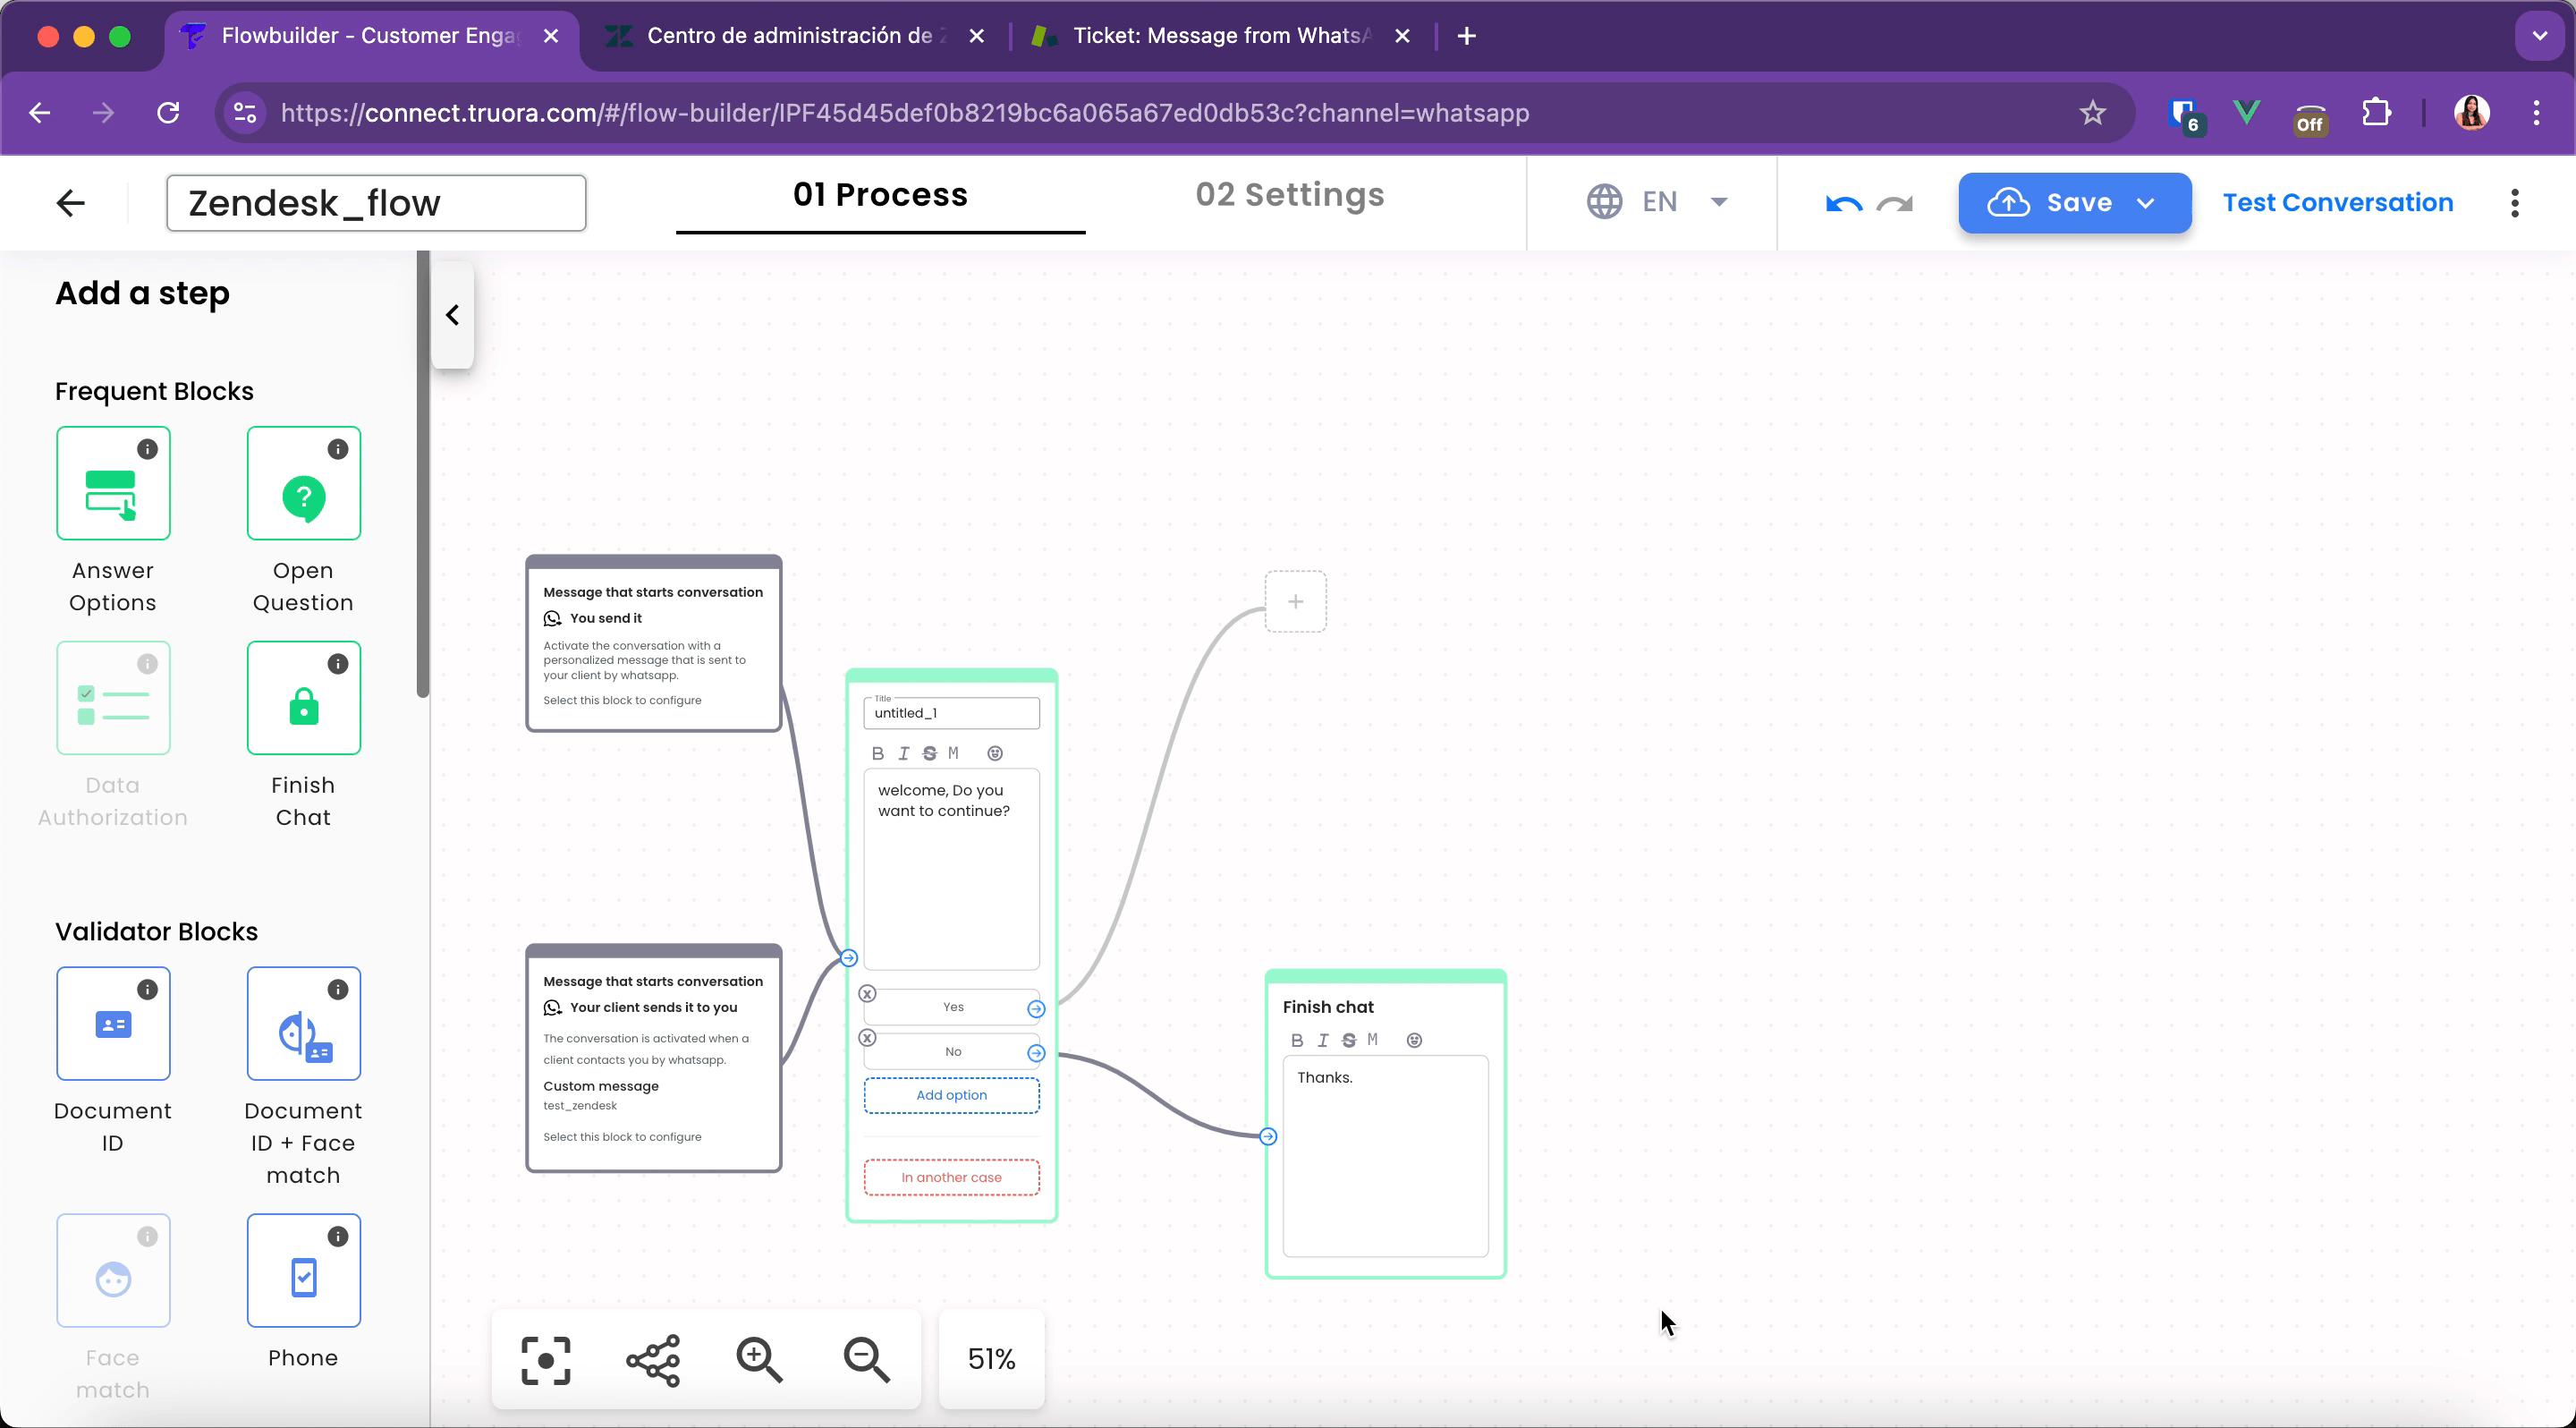
- Click “Create New Flow”, name your test flow, select “WhatsApp Chatbot”, and continue.
- Choose “Blank Template”.
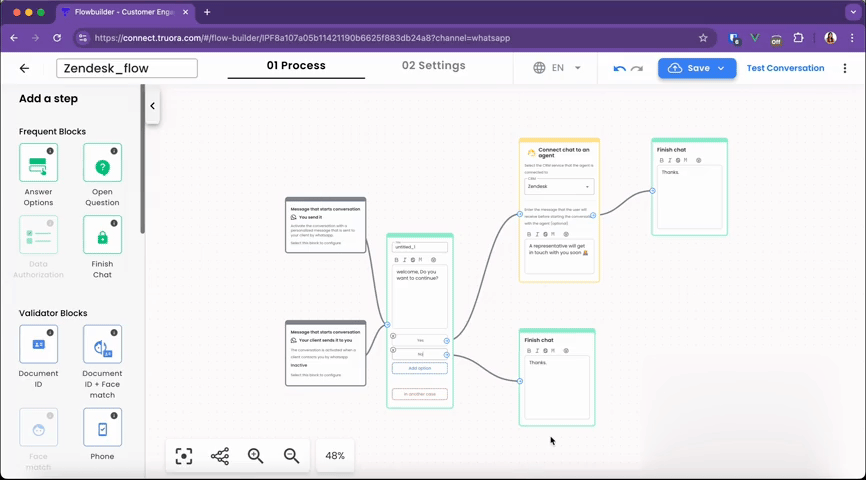
- In the Flow Builder, select the Advanced Blocks option.
- Find the “Connect a chat to an agent” block and add it to your flow as needed.
- In the block, you will find a section that prompts you to select the CMR service through which the agent will connect. Please select the one that says Zendesk.
- Save your flow by selecting “Save and Publish”.
Step 4: Test Your WhatsApp and Zendesk Integration
- Test the conversation live by clicking “Test Conversation” in the upper right corner of the platform.
- Select the Chatbot phone (your WABA line), enter the Message the user should send to activate the bot, and then click Continue.
- Click Open Preview to open WhatsApp and test the flow using the messages that should trigger the Zendesk integration, emulating the redirection to an agent.
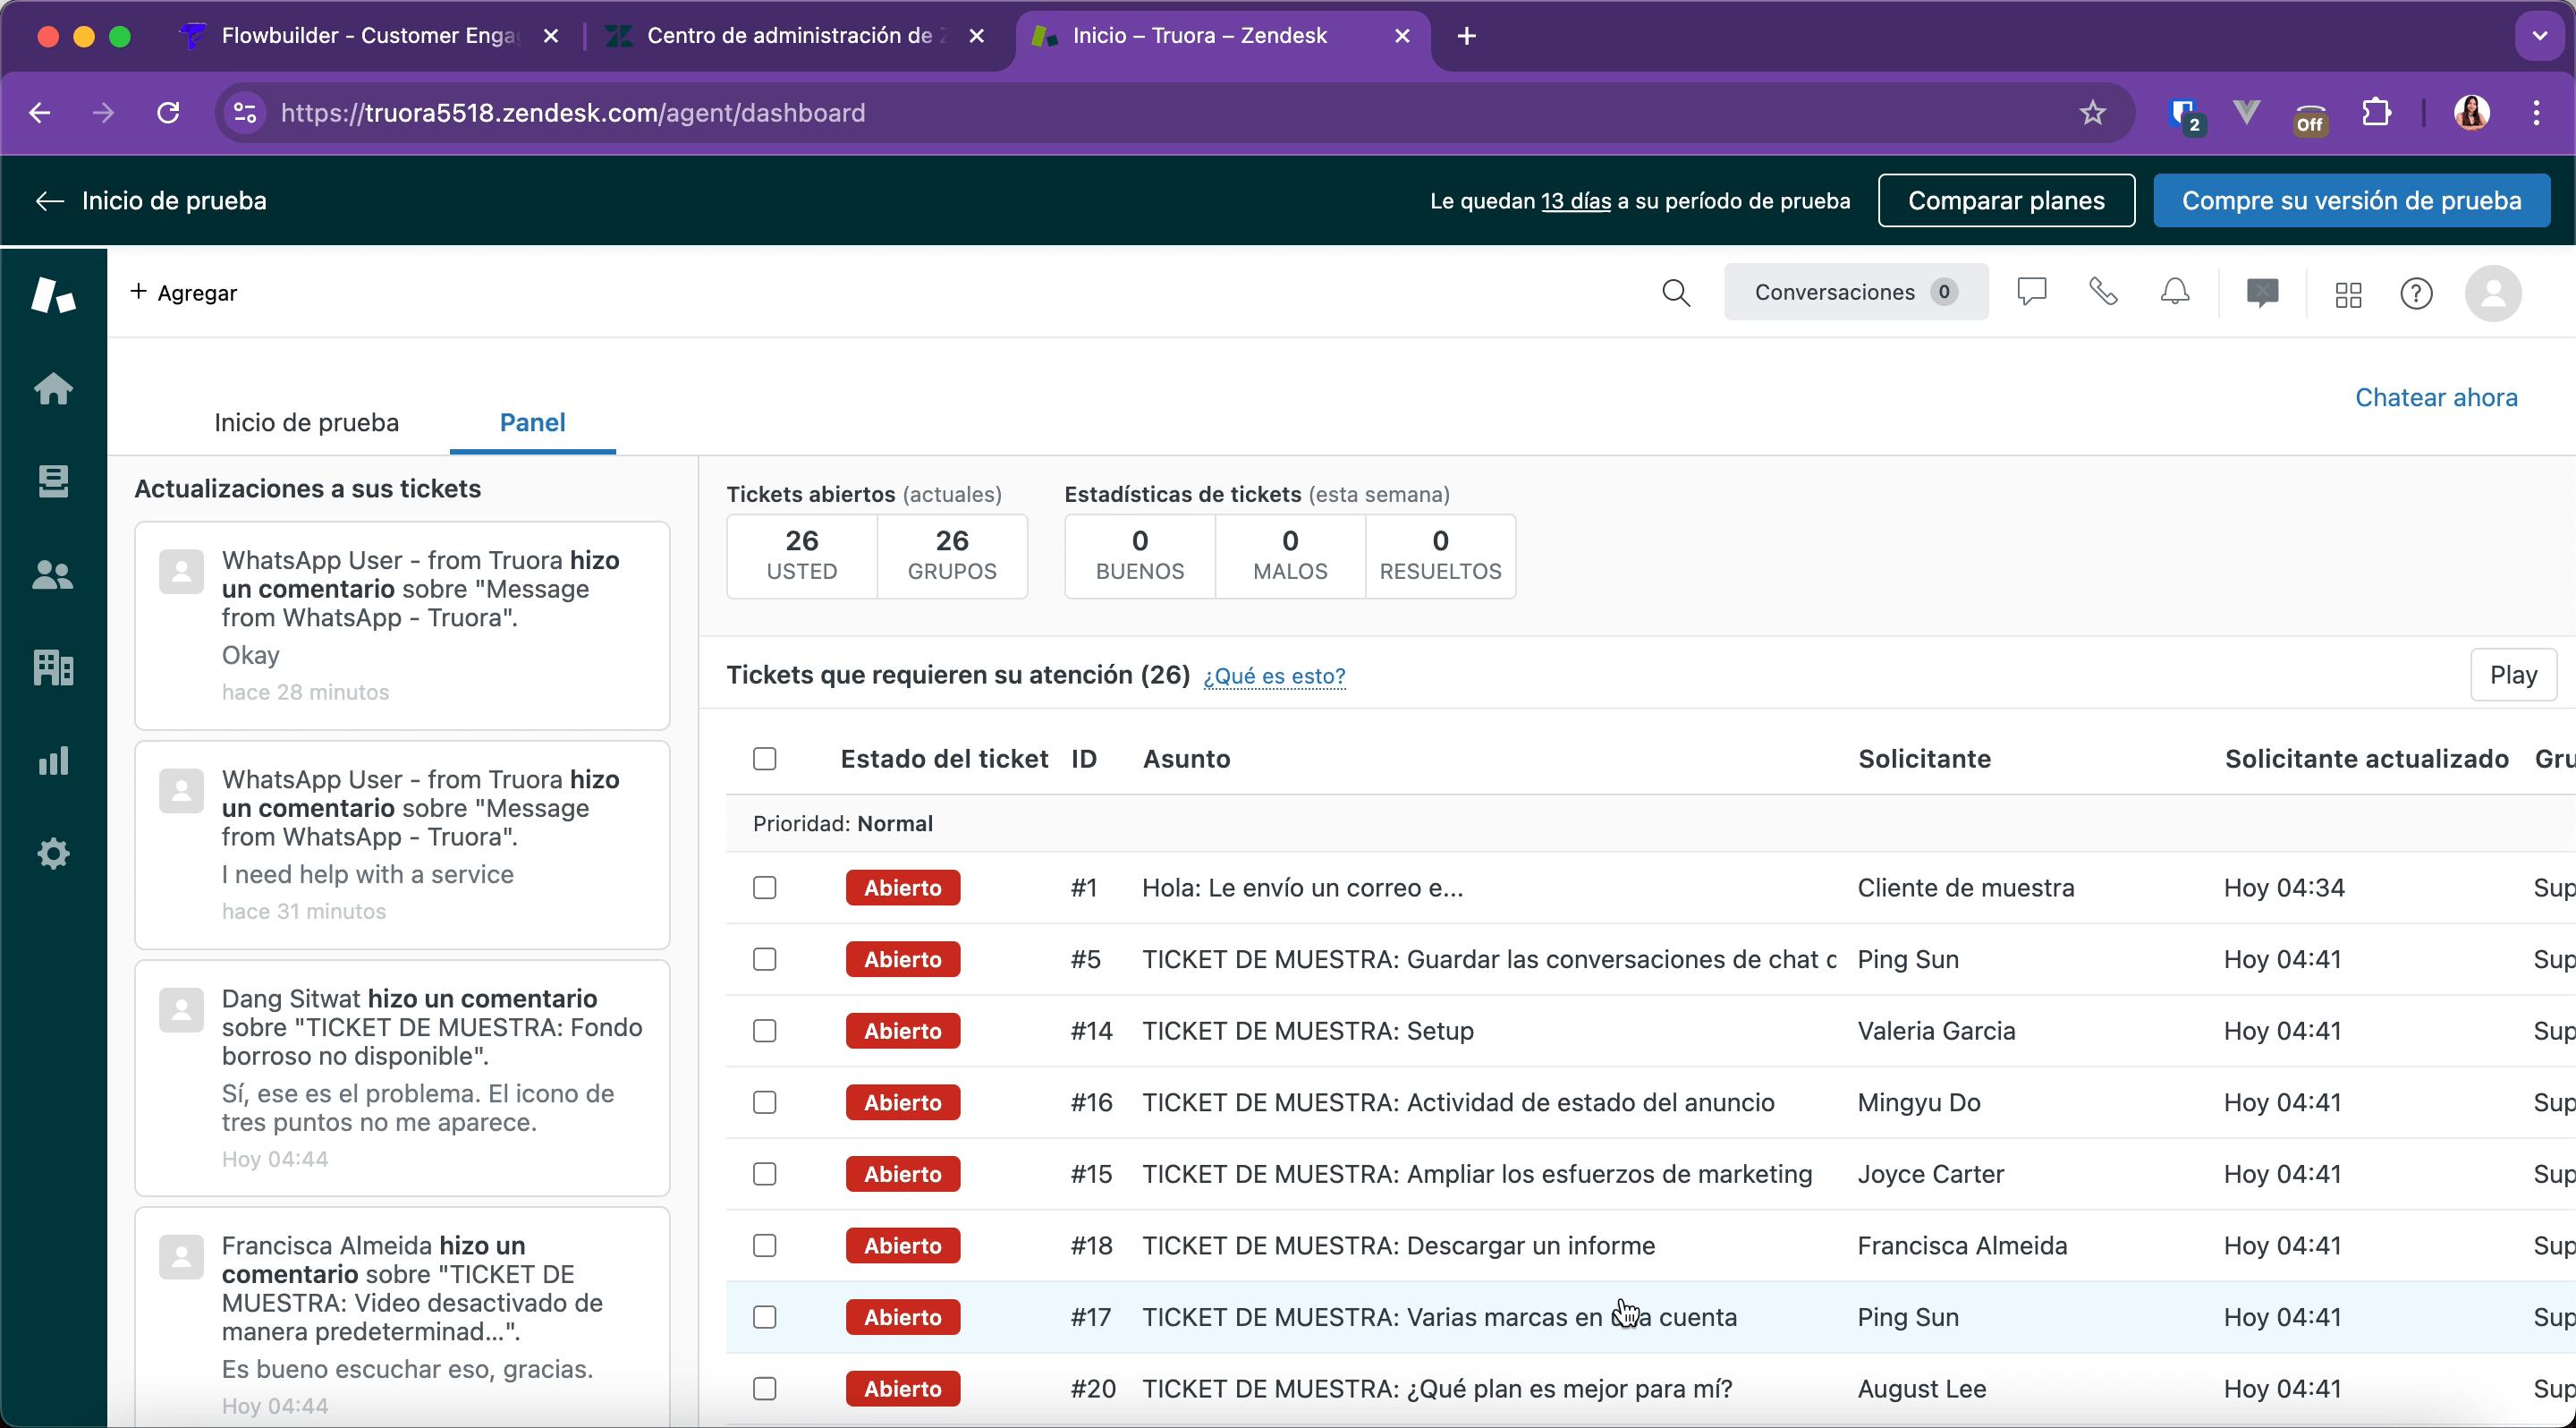
- In Zendesk Agent Dashboard, check the “Conversations” section for new interactions and respond.
- Change the ticket status to “Closed” to end the conversation.