Creating a rule to trigger actions
Each product at Truora has associated events that your system might find valuable for monitoring in order to trigger an action. Examples of such events include a Check completion, a Validation failure, WhatsApp conversation delivery, among others. This guide will walk you through creating rules using our web application to listen to these events and notify your services via webhooks.
Disclaimer: Webhook configuration requires an understanding of APIs and authentication schemes, so we recommend you have a developer or tech-savvy person do or help during this process.
Understanding rules and actions
A rule is an event that triggers a series of tasks, called actions. An example of a rule that leads to actions could be “when a Background check is created, send a webhook and an email”. The Background check creation would be the triggering event for the rule, and the actions would be sending a webhook and sending an email.
Now, this guide will walk you through the step-by-step on how to create a rule that sends a webhook to a given endpoint once a Background check of type person or vehicle finishes.
Creating the rule
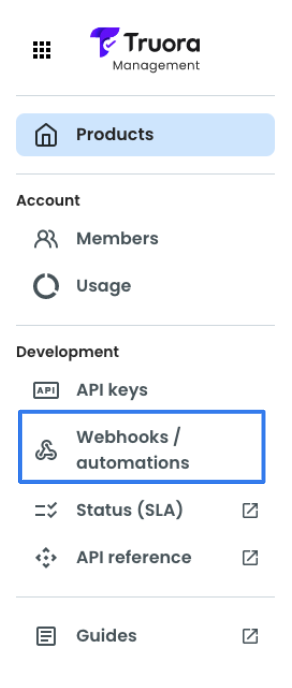
To create a rule, you will first need to log in to Truora. After that, you can access the Webhooks/automations section via the sidebar:
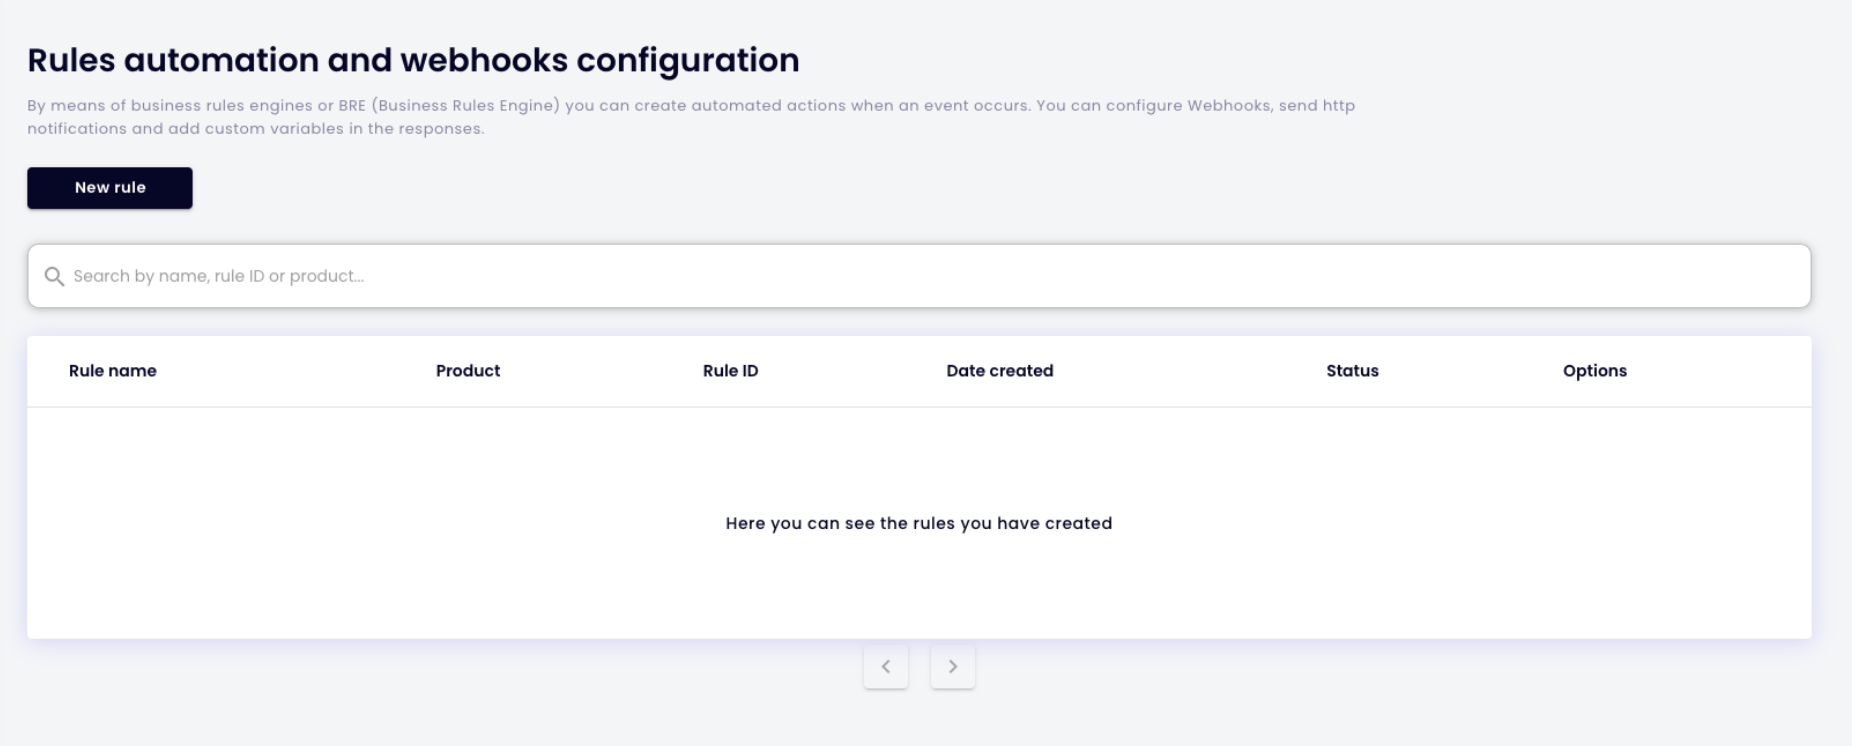
In that section, there will be an empty list of available rules. To create a new one, click the “New rule” button.
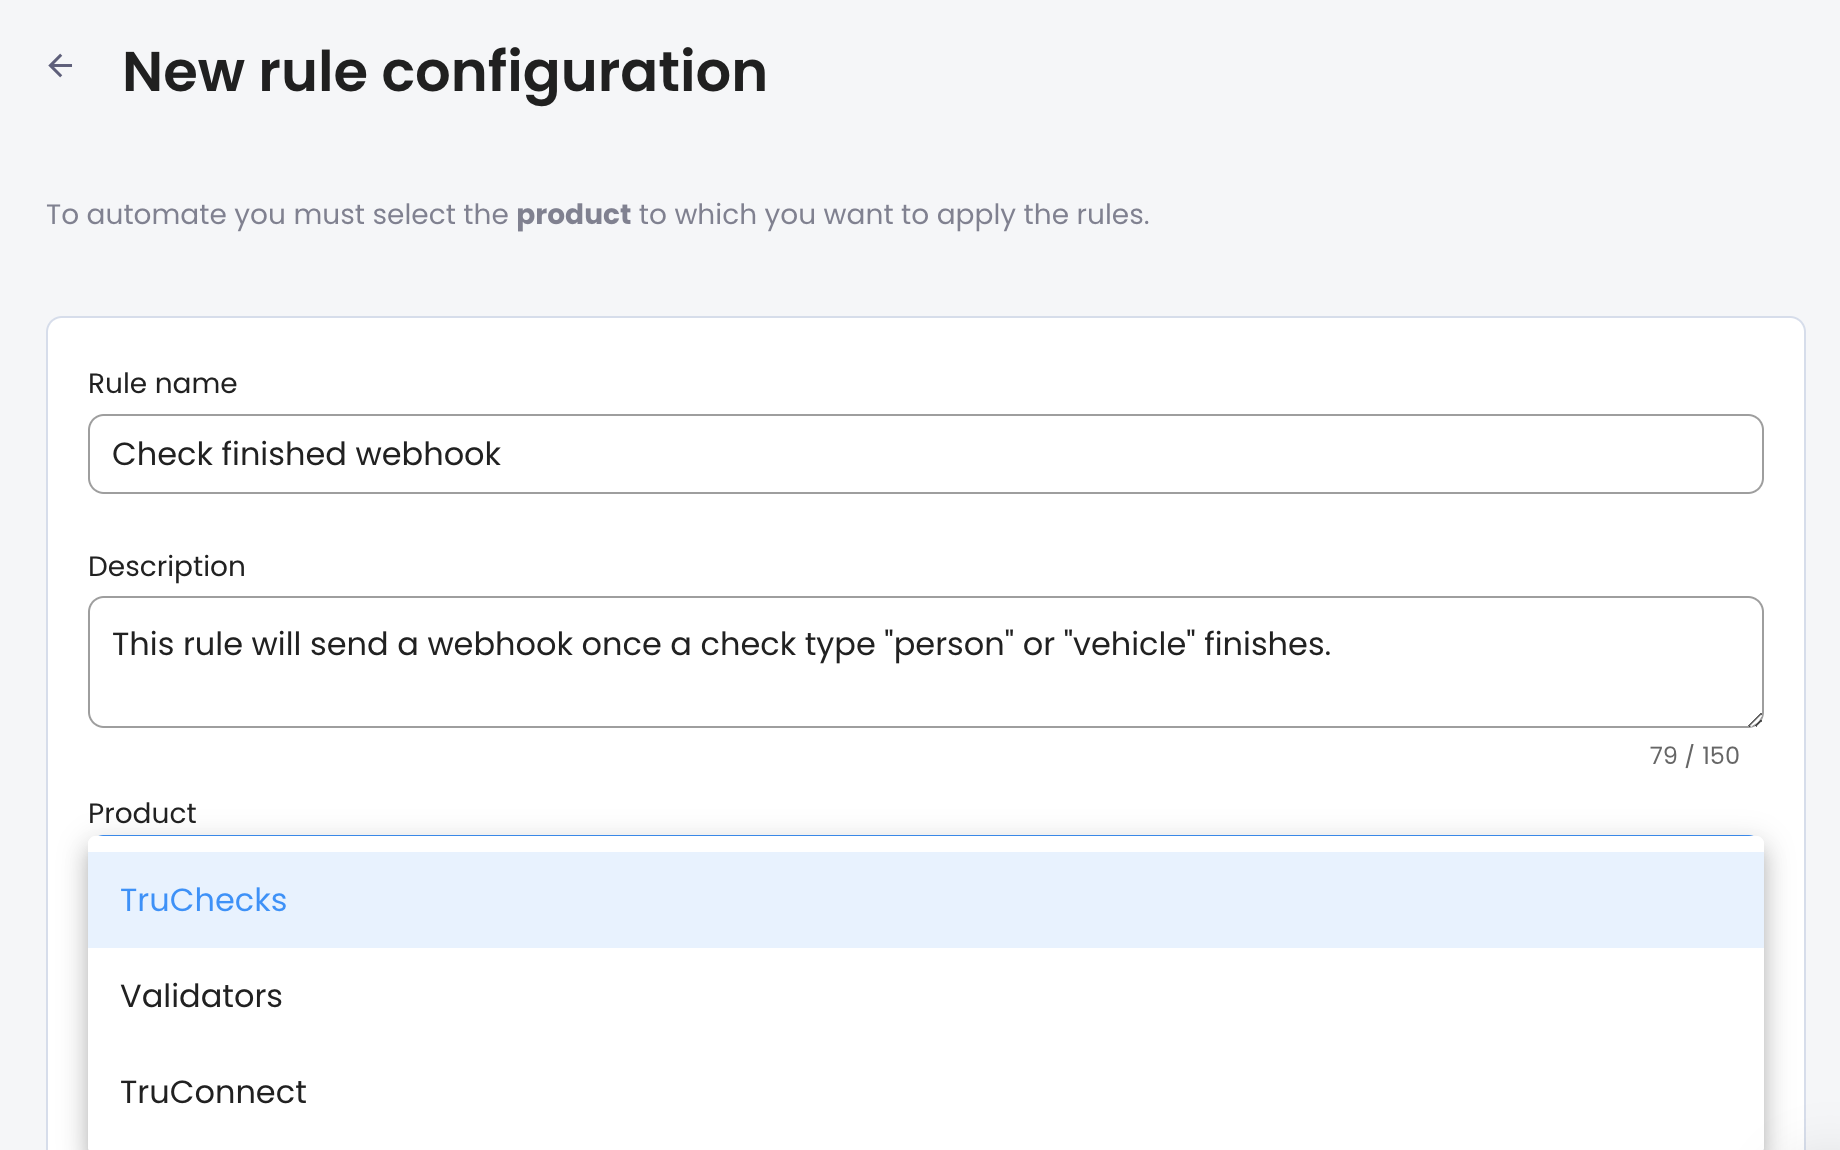
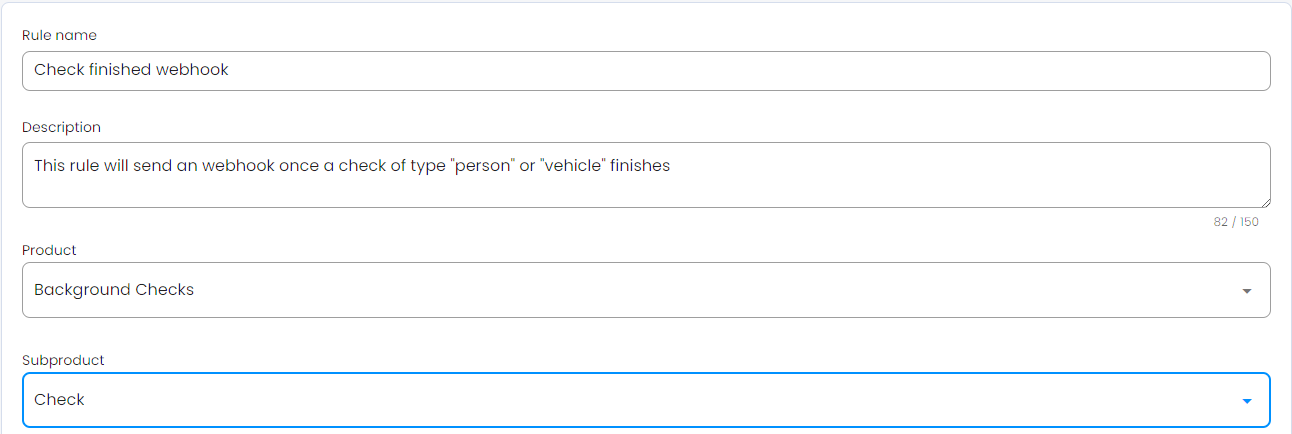
This will redirect you to the “New rule configuration” view. In the first section, you can set the new rule’s name and optionally a description. After that, you can set the product for which the action will be triggered. The Background Checks product will be used in this example:
As soon as you choose the product, a dropdown of Subproducts will show. Select “Check” in this case since you want to trigger a rule per finished check.
Setting the desired subproduct will allow you to select which events the rule should listen to. Even though you may have multiple events per rule, for this example you will only need the “Completed” event.

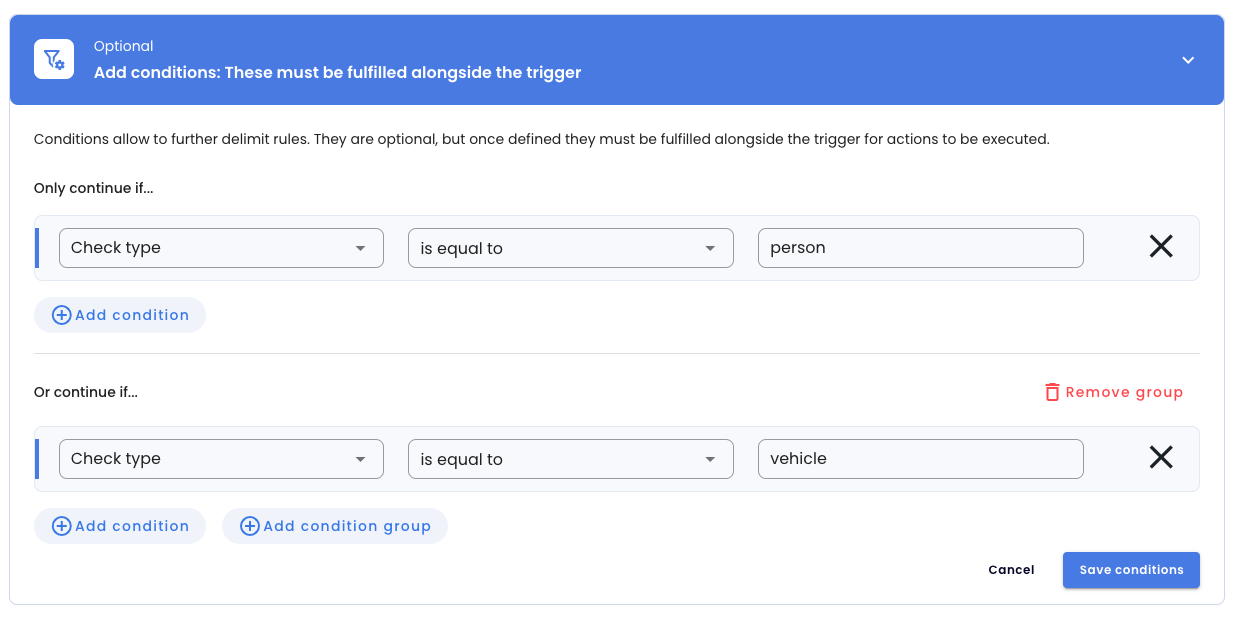
The final step for your rule will be adding a condition. This optional step will enable you to filter this rule depending on the values that the check variables may take. For this example, you only want checks of types person or vehicle to trigger the webhook. Hence, you will click the “Add conditions” button right below the selected event. A simple rule comparing the check type with “person” OR “vehicle” will be enough. You will create two condition groups because groups are formed with the OR operator.
Creating an action
Once the rule’s name, product, subproduct, events, and conditions have been specified, you can choose which actions to trigger.
Choose the webhook which will ask for the action’s name, an e-mail, and credentials in case your endpoint requires them for authentication. Credentials are safely encrypted and stored in our services. They will also be available to use in the steps to follow. Fill all of these out before proceeding to the endpoint definition.
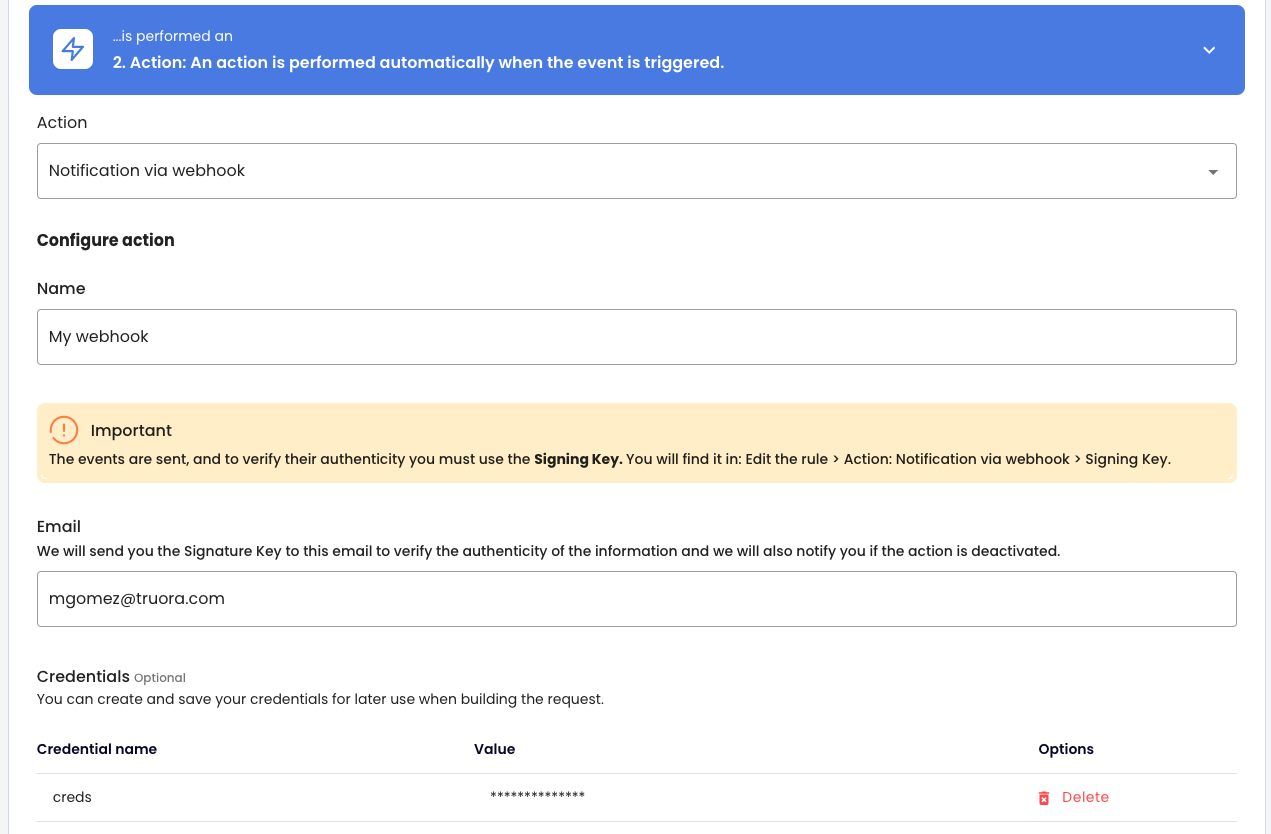
Regarding the webhook request, Truora webhooks perform a request as a JWT. This is a compact and self-contained way to transmit information securely between two parties in the form of a JSON object. The service that receives this hook should not only decode the token but also perform the required validations over its data to detect any alterations. It should also verify its signature which will be provided during these steps but also sent via e-mail, so make sure you set the address correctly while setting up the webhook.
Once you have filled out the previous fields you can set up the endpoint that will be triggered. You can look at what an encoded and decoded JWT look like by clicking the “Body” tab.
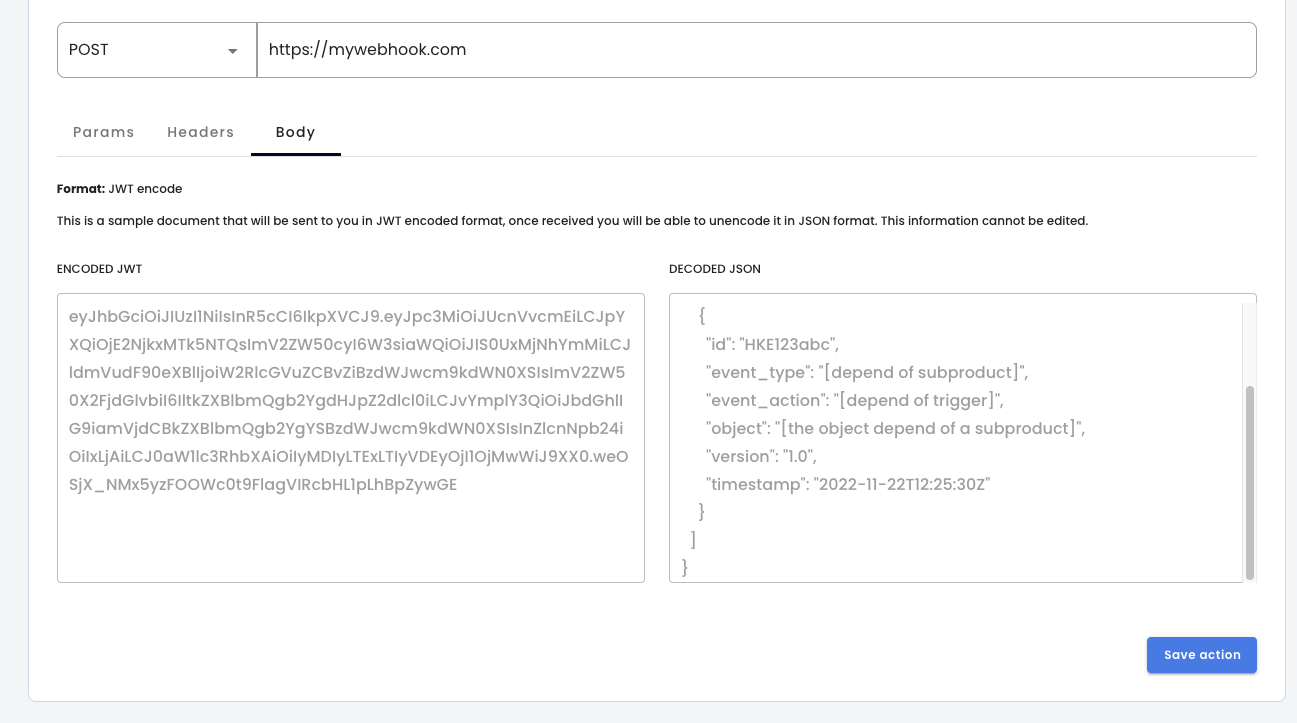
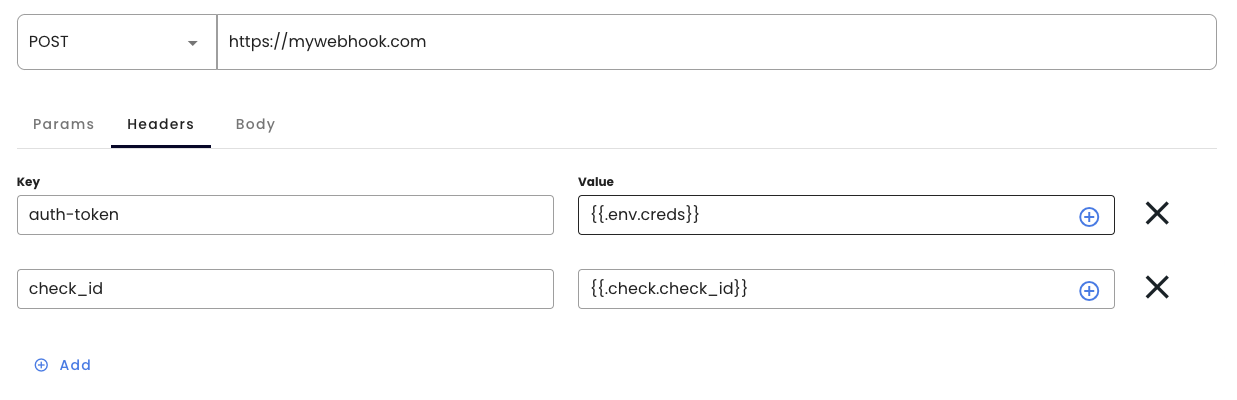
If your endpoint requires credentials as part of the request, you can set them in the request params or headers by clicking any of those two tabs and setting the key and value. To insert a previously created credential or an event variable, click on the "+" button in the Value field and choose the desired option. This will add the reference to the request.
Save your action by clicking the “Save action” button in the bottom right. This will show the action you just configured and an option to Add more. Now you have everything you needed, so click on “Save actions” and “Finalize rule configuration”.

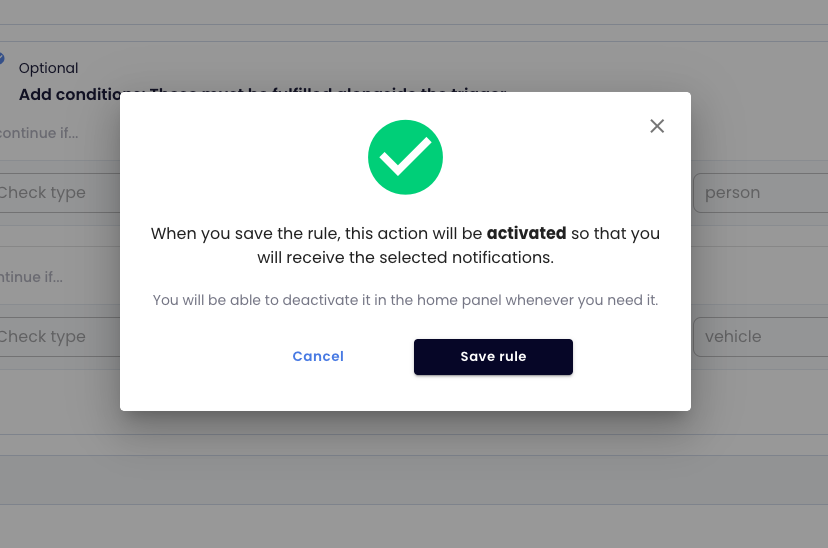
Finally, a pop-up will appear warning that the rule will be created and enabled immediately. Accept by clicking “Save rule”.
You are all set!
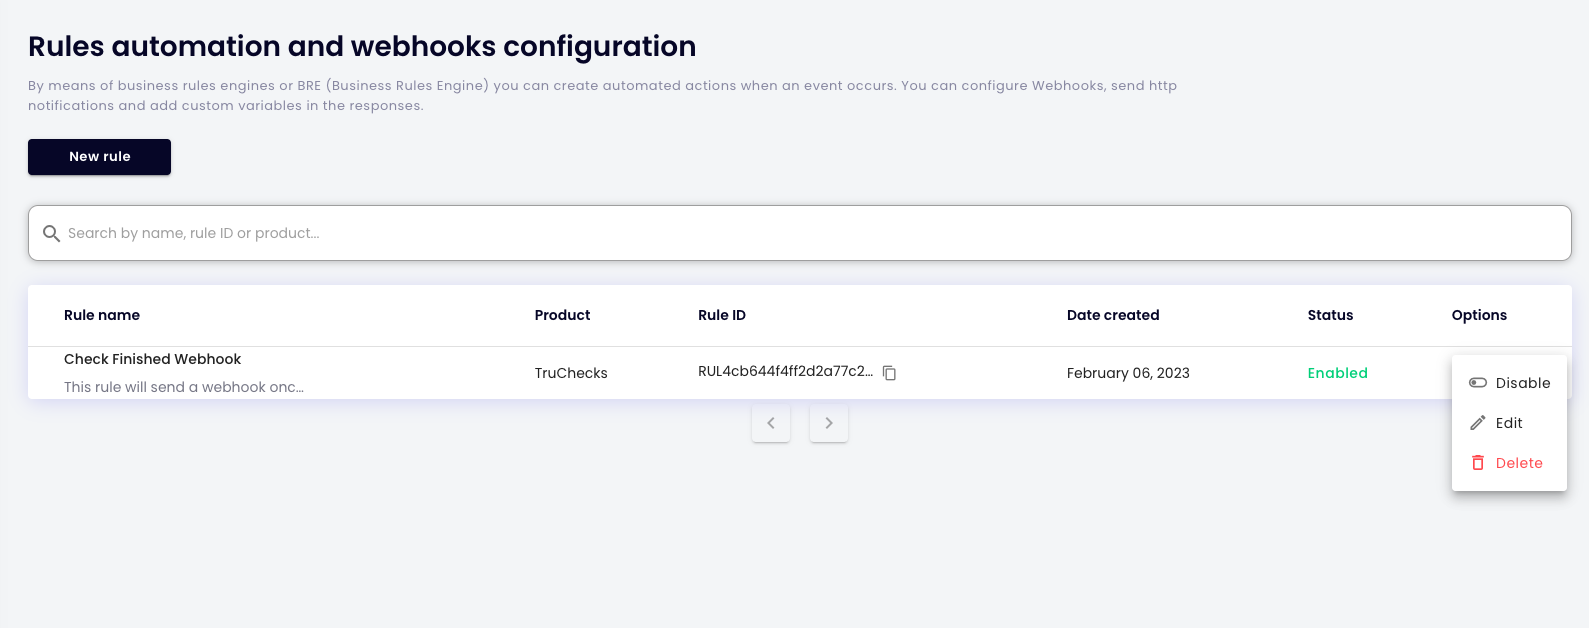
You have created a rule successfully! You should now be able to see your rule, its name, ID, status, and creation date. In case you want to update it or disable it, you can do so by clicking on the three dots button on the right. Feel free to create your own rules and check out what other events we support.