Live Capture for Identity Validations on WhatsApp
This feature allows you to take photos directly from the device’s camera in real time, without having to select images from the gallery. It’s used to validate documents and faces via WhatsApp, improving the security of the process.
Creating a new Whatsapp flow with live capture
If you are creating a new Whatsapp flow, then all you need to do is add one of the supported verifications and the use of the live capture will be done by default without any further configuration from your part.
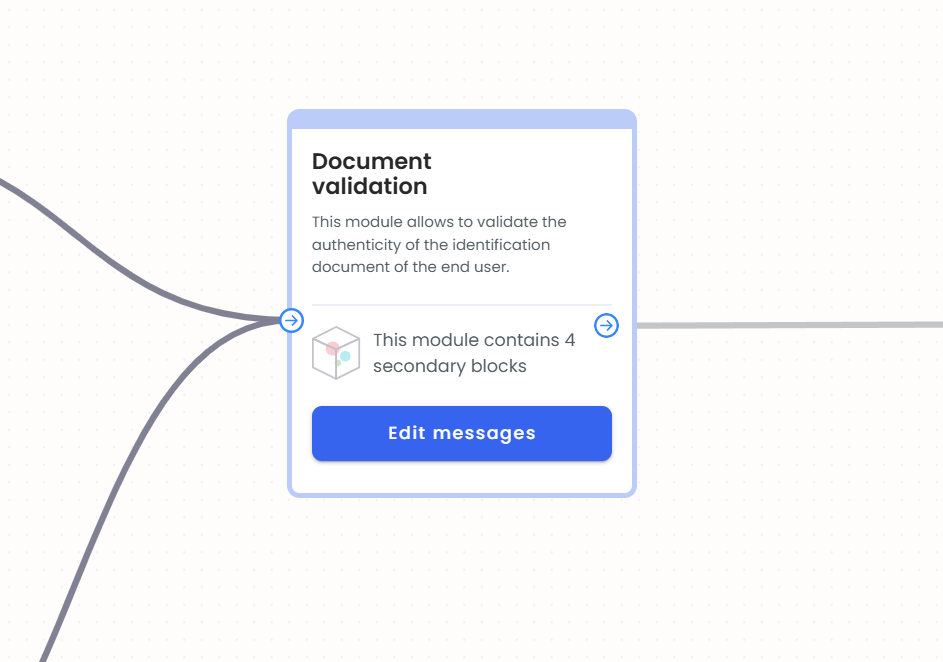
- Document Verification
- Invoice Verification (Proof of address)

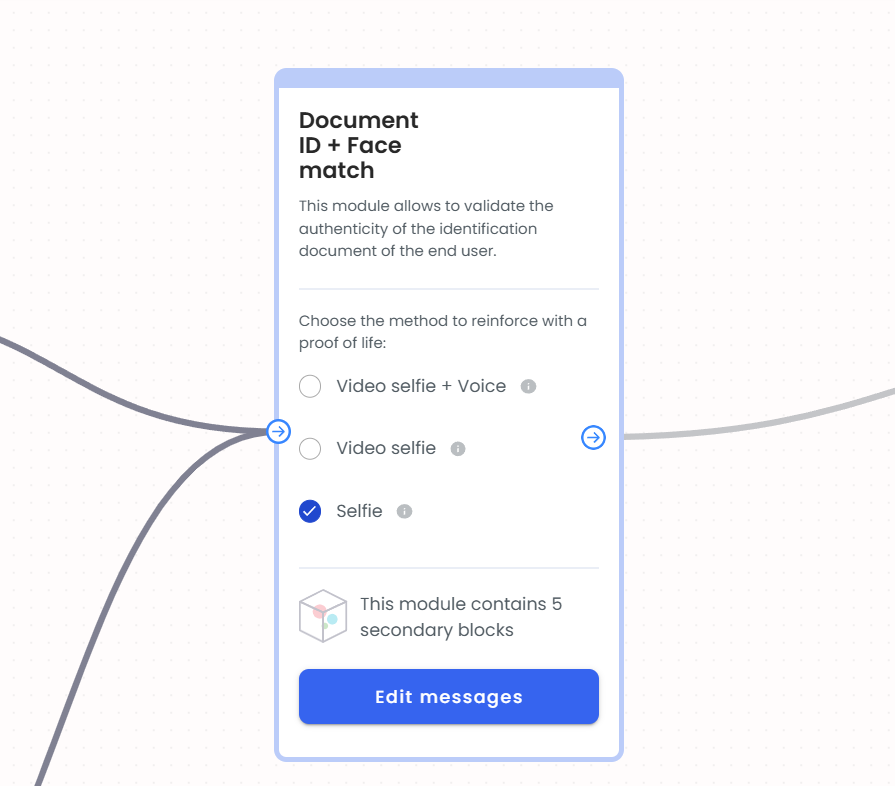
- Document + Face Verification with Selfie
When using the “Open question” verification block, the live capture will be automatically used when selecting the option to receive an image input from the input types selection list.
- Select the open question box and go to the settings sidebar
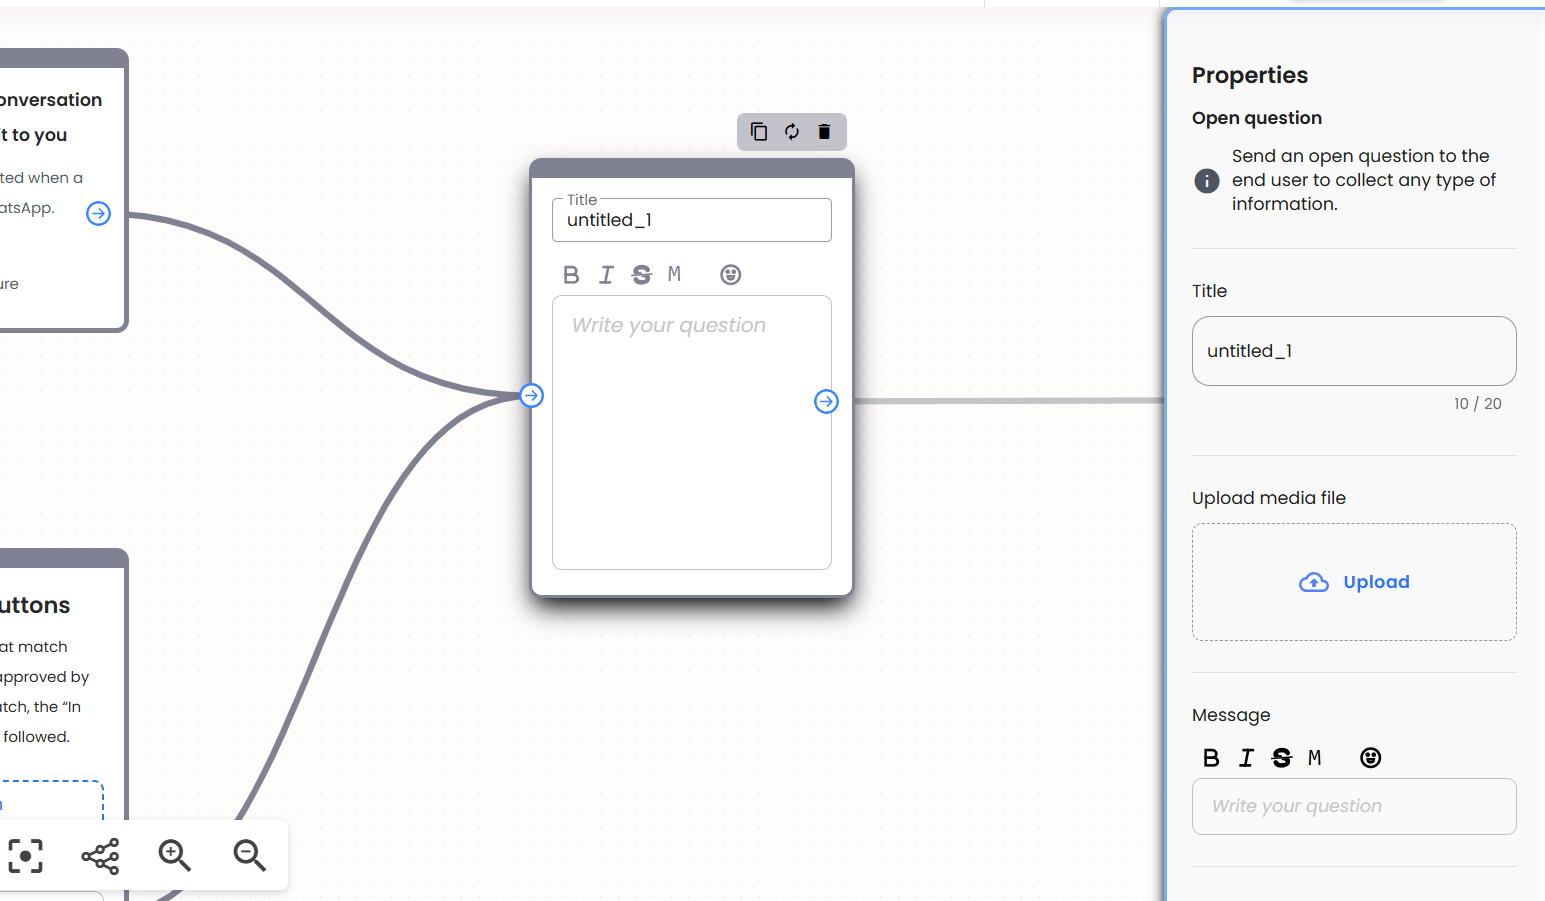
- Select the image input
Updating a flow to use live capture on WhatsApp
If you have an already created flow, then it would not have the live capture features automatically and you will have to do some extra steps to enable it depending on the verifications available in your flow:
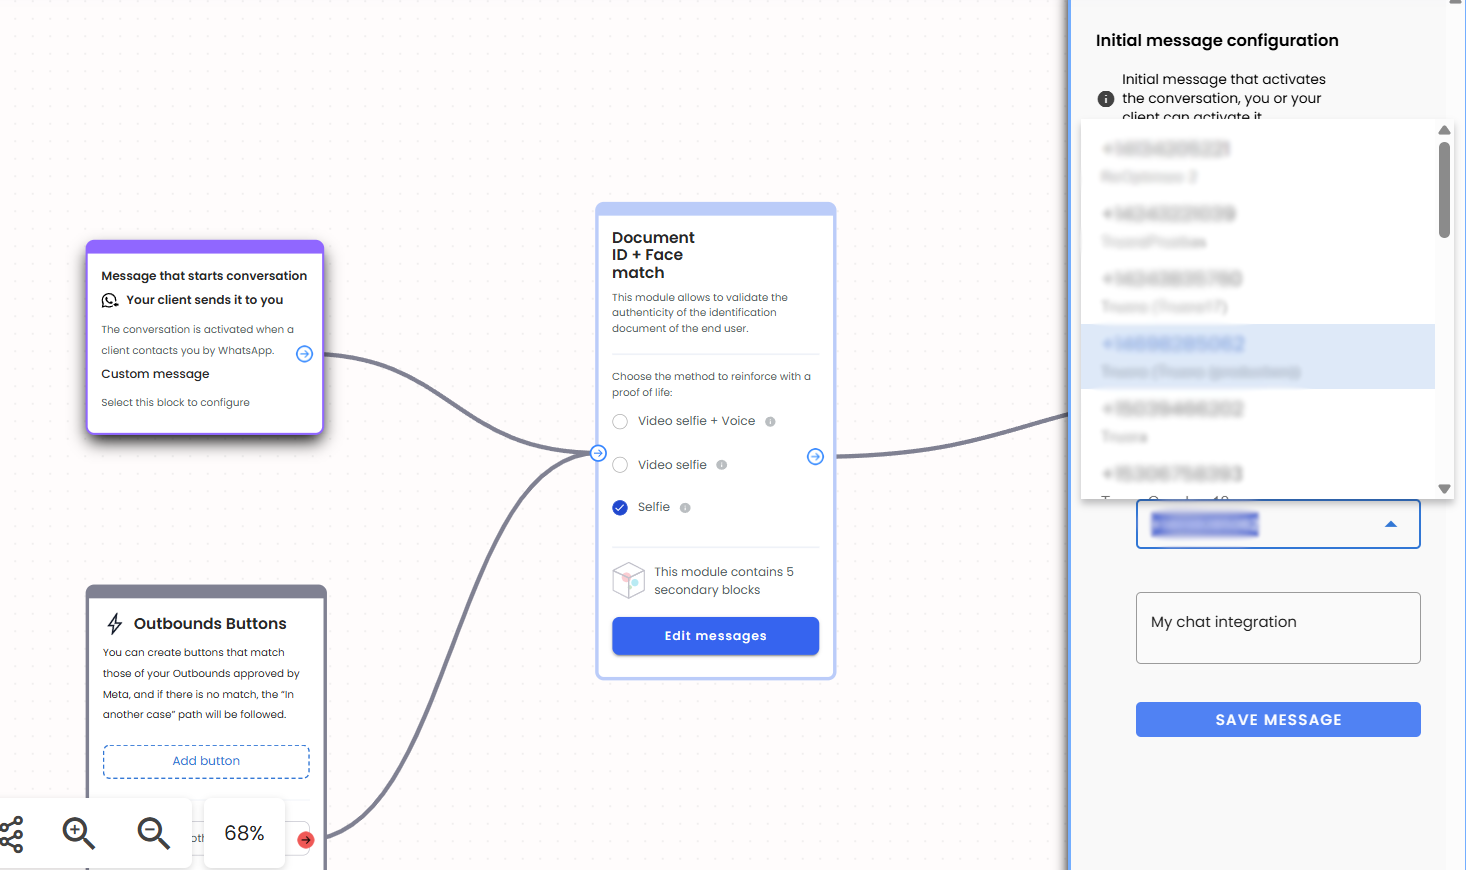
- If you have a “Document+Face” verification in your flow, then all you have to do is select the “Selfie” option in the verification box.
- If you have any other previously mentioned supported verifications with live capture then the migration to use live capture will be done automatically by opening your flow in edit mode and republishing it.
- Otherwise if you don’t already have any of the supported verifications in your flow then all you need to do is add one.
Finally, publish your newly updated flow and you are all set.
Disabling live capture for a given verification
Note: This is not recommended and might be compromising the security of your validations.
There might be cases where you want to allow uploading pictures from the gallery and don’t want to make use of the live capture feature. For these cases, if you need to disable the live capture you can do so by checking the “Enable gallery upload” check-box in the verification box sidebar settings:
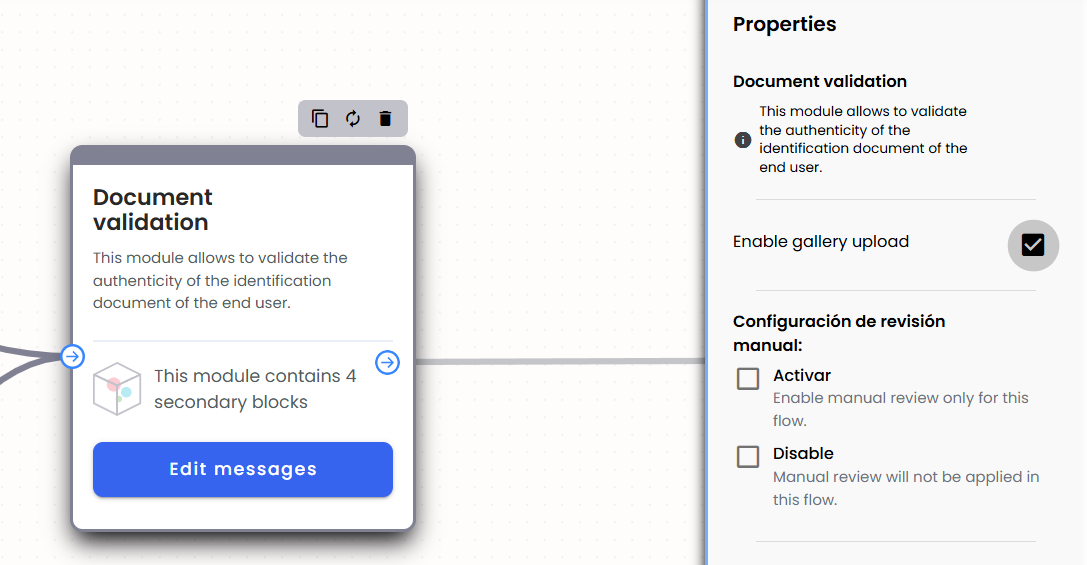
If at any time you change your mind, you can turn the use of live capture back on by deselecting the “Enable gallery upload” check-box.
Customizing the messages in the live capture input form
You can change some of the text that appears in the live capture input form to customize it to your brand or use case. To do so, in “Document”, “Invoice”, and “Doc+Face” verifications, follow these steps:
- Select the “Edit message” button in the verification box that you want to change the live capture input form text on.

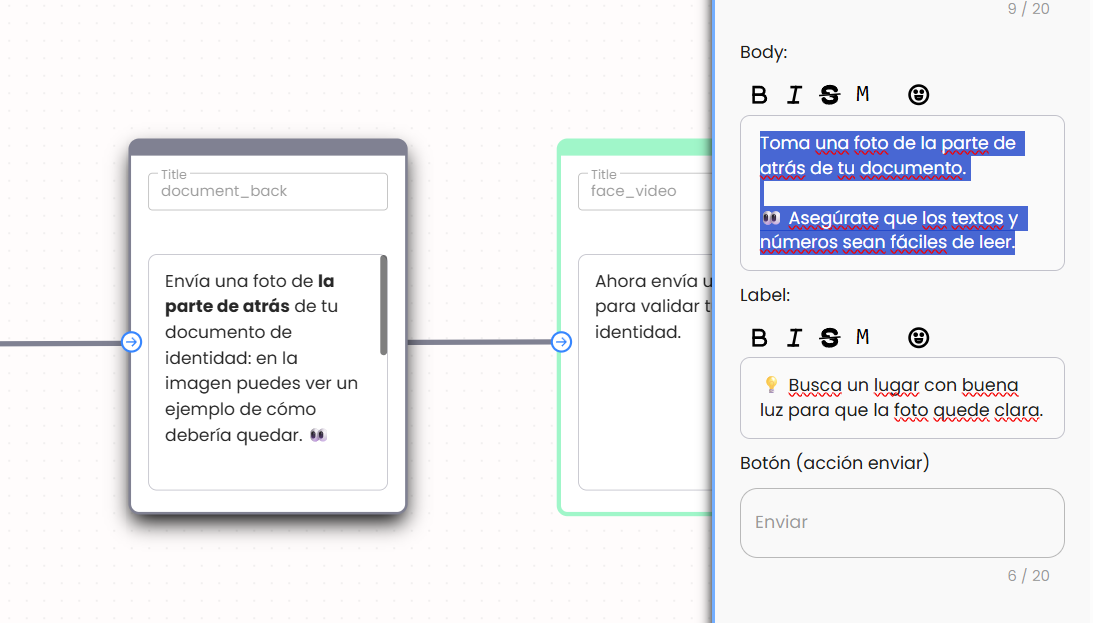
- Select one of the step input boxes “document_front”, “document_back” or “face_video”.
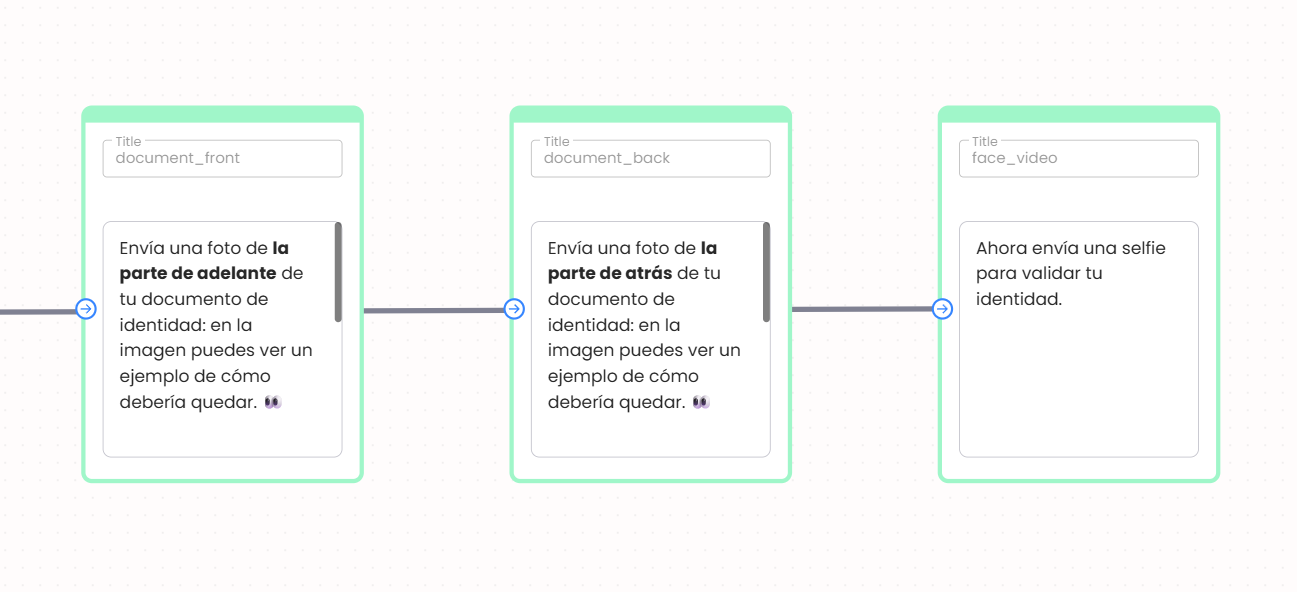
- In the sidebar that appears, you will now be able to change the “Body” and “Label” of the live capture input form.
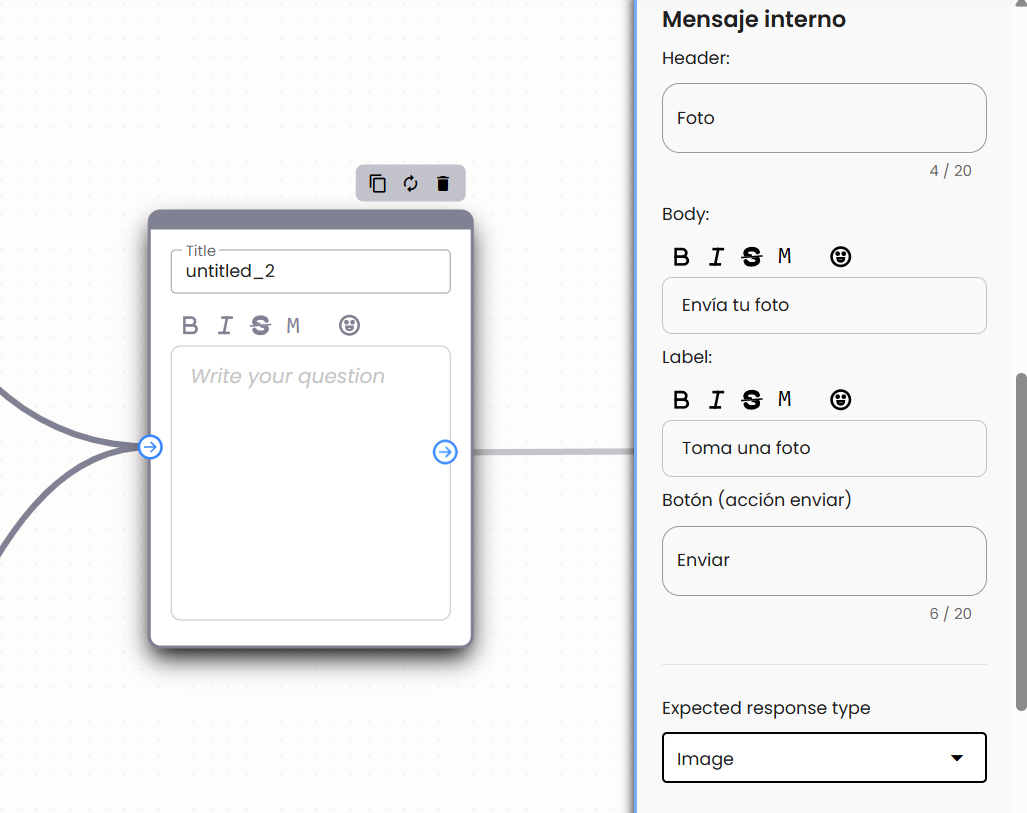
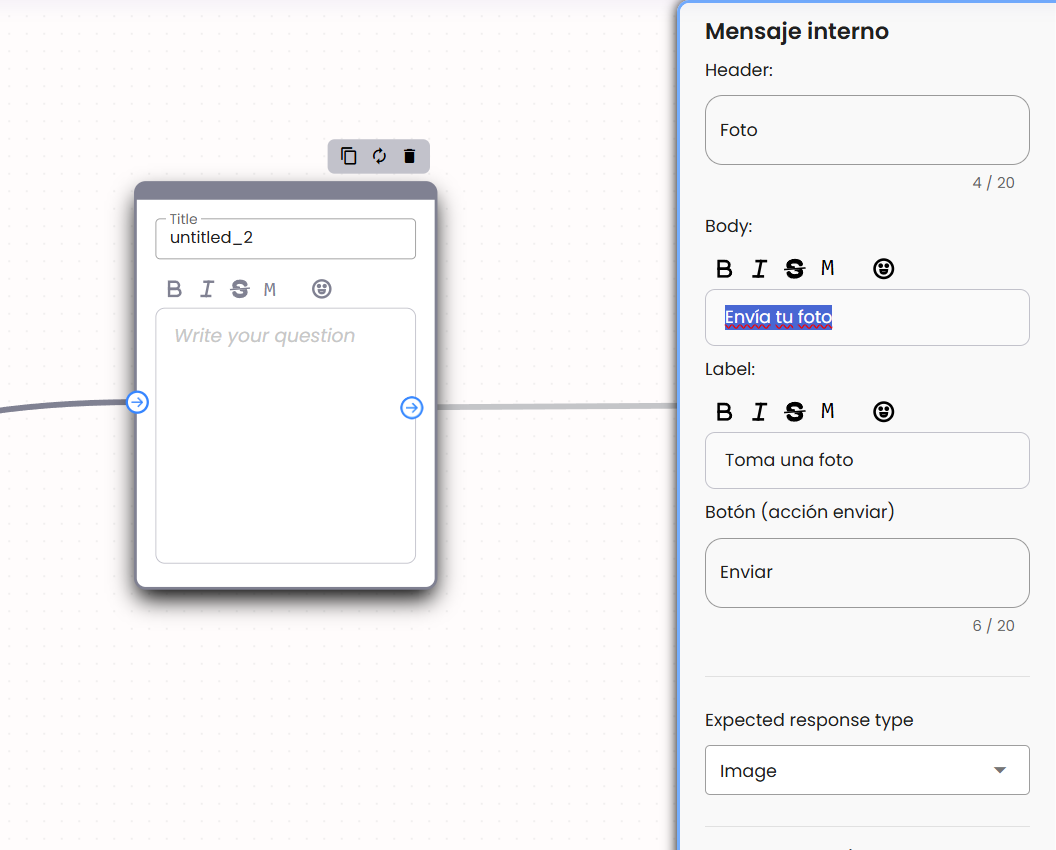
If you are using the “Open question” verification box with “Image” input, then you will be able to change the “Header”, “Body”, “Label”, and the “Send button label” of the live capture input form from the sidebar.
Configuring the WABA line to use for live capture feature
In order for the live capture feature to work correctly the WABA line that is being used for the conversation has to be the same as the one that was used to create the live capture form.
For ease of integration with the live capture feature, we automatically select a WABA line to be used to create the live capture form by searching for a line in the following order:
- Looking if the flow has an inbound trigger to use the inbound WABA line for creating the flow live capture form.
- Searching the list of WABA lines available and selecting the best one, taking into account the quality of the line given by Meta and the maximum number of messages allowed for the WABA line.
If you wish to change the WABA line that it’s being used for your live capture form, there are two ways of doing so:
- If you have an inbound trigger message configured in your flow:
- Go to the inbound trigger block and select on edit the trigger inbound message.

- Select the new line and save your new trigger inbound message.
- If you don’t have any inbound trigger message configured:
- Go to the “Settings” tab in the flowbuilder.

- Select the new line that you want to be used for the live capture form.

Keep in mind that, if you have an inbound trigger message configured then you will not be able to configure the WABA line through the “Settings” tab until you set your inbound trigger message as inactive.
Testing the Whatsapp flow with live capture
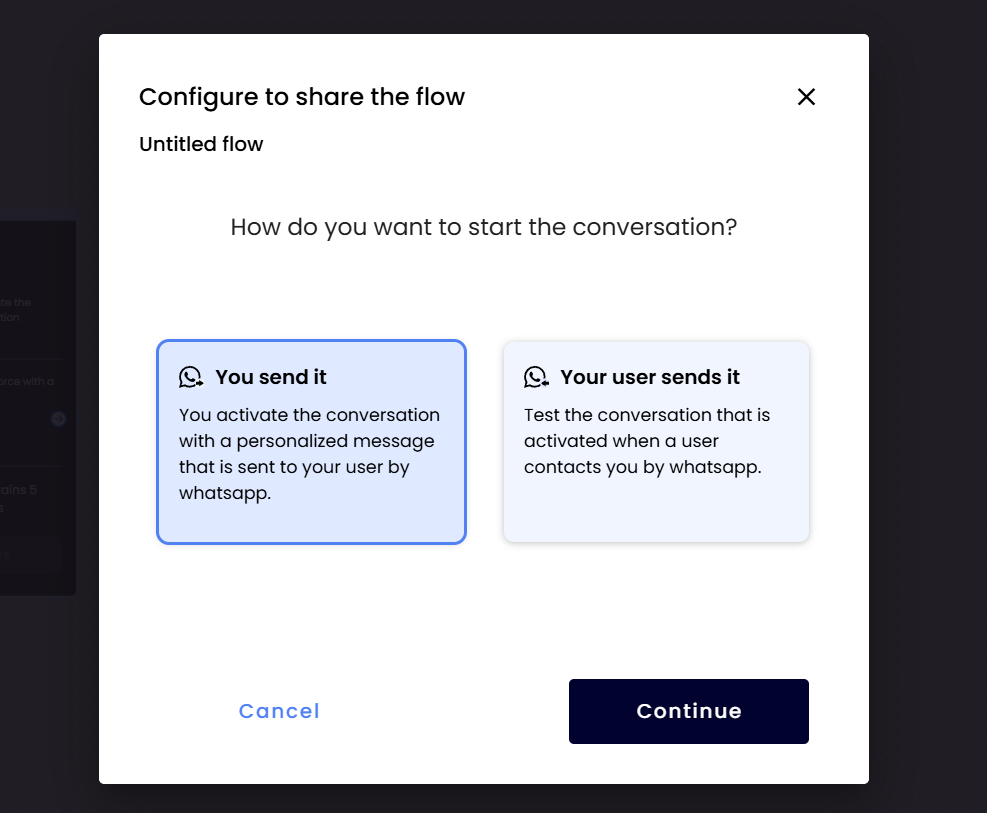
Once you’ve finished editing and publishing your flow, you can test by sending an outbound or receiving and inbound.
If you want to test with an outbound then:
- Select the “You send it” option in the modal.
- Select an outbound message for your flow, you will see the WABA line that it’s available to use with live capture and thus the list of outbound messages will be listed to only the ones related to that line.
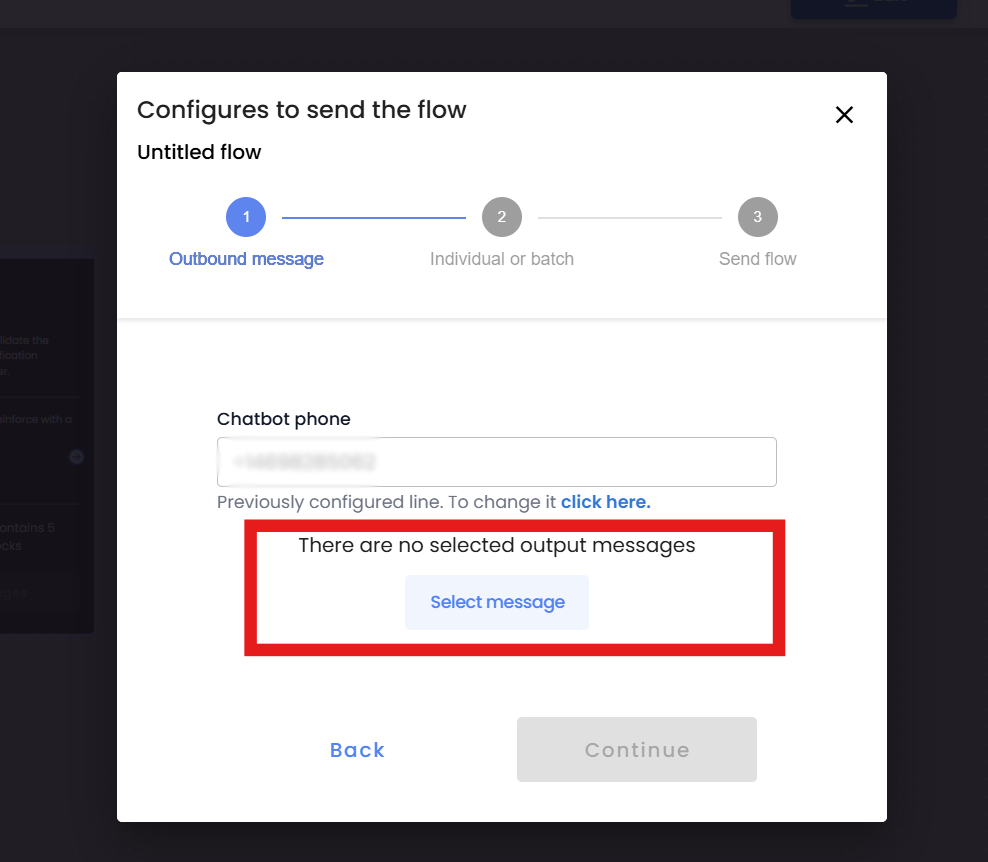
Note: If you don’t have an outbound available for that WABA line then you will have to create an outbound for the same WABA line of your live capture form.
If you want to test with an inbound then:
- Select the “Your user sends it” option in the modal.

- If you already have an inbound trigger created then continue normally, otherwise create a message to be used to trigger your inbound.

Since the live capture WABA line and the WABA in which the process is running need to be in sync then, if you require it, you will have to change the line for the inbound from the flowbuilder.
You can quickly go to the place where you can configure the WABA line to be used by clicking on the “configure line” link.
