


How to use the Dashboard
In simple terms: The Dashboard is where you sign in and manage your organization. From the side menu you add people, assign what they can do, review product usage, and see who did what.
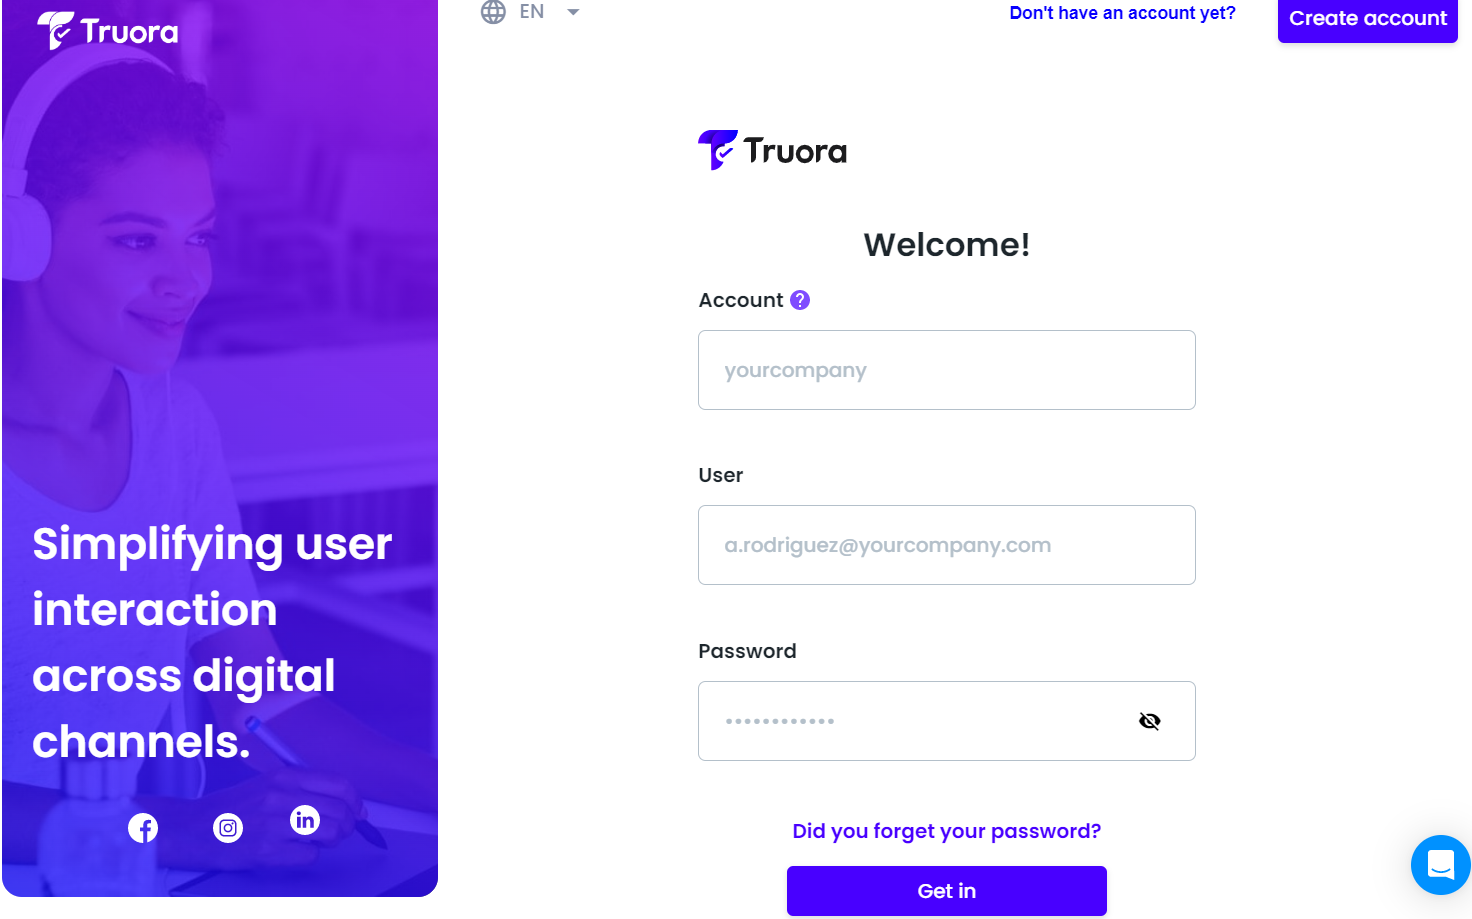
- Go to the dashboard.
- Enter your company/account name (all lowercase, no spaces or punctuation), your e-mail username and password, and press Get in.
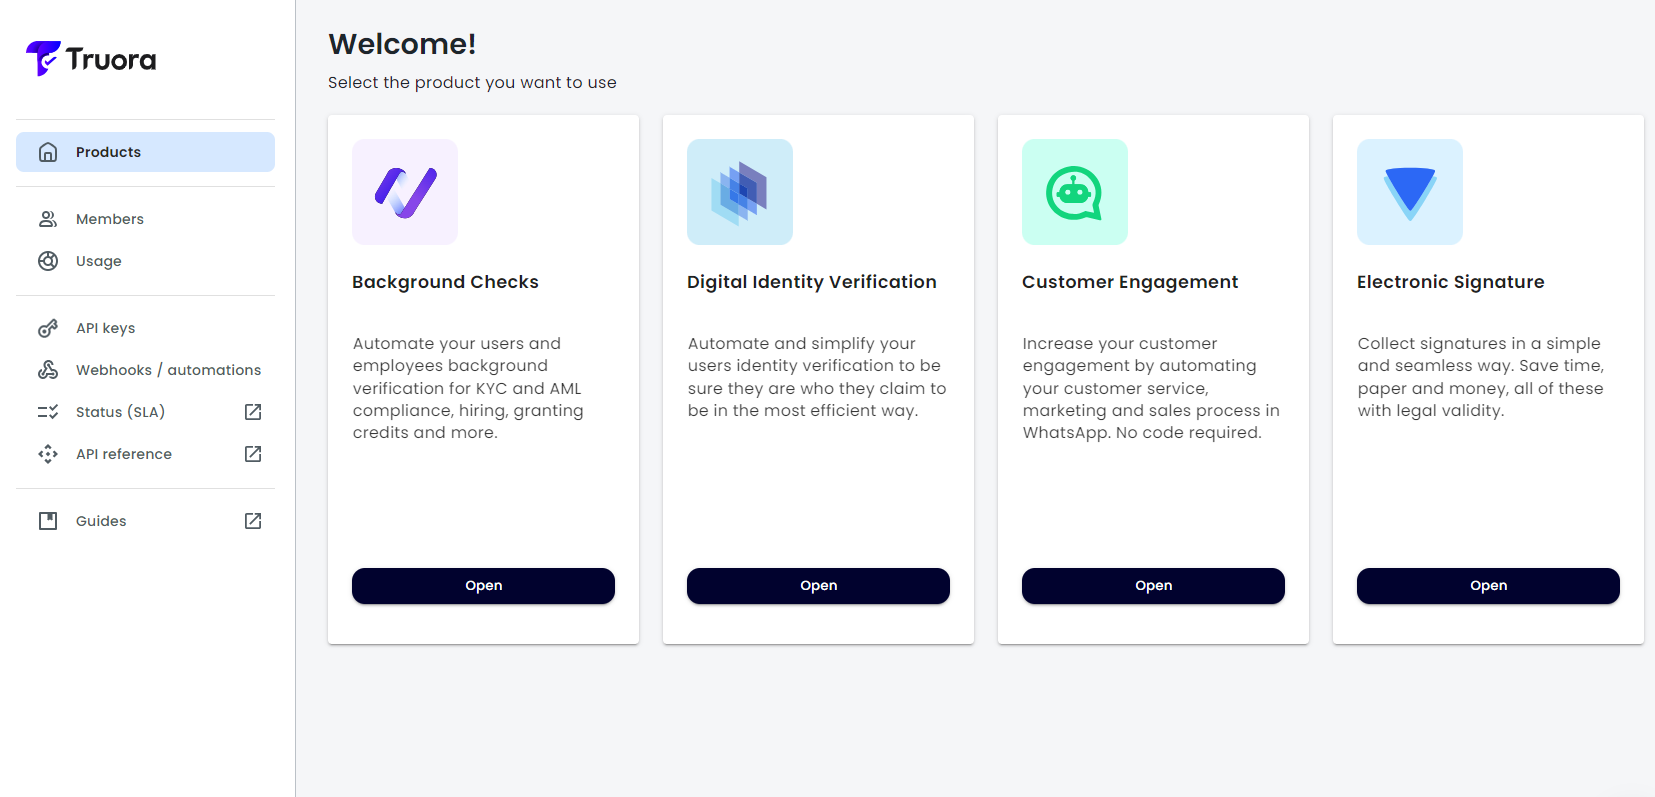
- Select the product you want to open, or use the side menu.
Members and Roles
In the side menu, click Members and Roles. The page has two tabs: Members and Roles.
Members
This tab lists everyone in your organization.
Search by Name or Email in the top menu. Use Filter to narrow the list by access type and member status.
In the list you can open a member’s detail, change Status (activate or deactivate), Delete, or Edit.
Actions includes four bulk and create options.
Add member opens a modal:
- Enter Name, Email, Phone number, Country, and Language.
- Select the role.
- Default access: Can create and modify queries, validations, and flows, and can view results and their detail. Cannot manage members or roles.
- Full access: Same permissions as default access, and can also manage members and roles.
- You can also assign a custom role.
- Click Create member. Truora sends an invitation to the contact details you entered. The person must accept it.
Import members creates many members at once from an Excel file. Each row needs:
- Name
- Country code
- Phone
- Role
- Country
- Language
The modal includes a link to download an Excel template.
Update members edits many existing members from an Excel file. The modal includes a template download.
- Email is required. It identifies the member and cannot be changed.
- Add only the columns you want to change: Name, Country code, Phone, or Role.
Delete members removes many members from an Excel file. The modal includes a template download. The file must include Email, which identifies who to delete.
Roles
This tab lists every role in your organization. Click a role to open Edit role and change its access levels.
Search by Role name in the top menu.
Add role asks for:
- Role name. Use lowercase and no spaces. Hyphens can separate words.
- Role description. A short note on what people with this role can do.
- Copy an existing role. Optional. Start from a role you already have, then change it.
- Two-factor authentication. Requires a second sign-in method in addition to the password.
- Permissions by product. Open each product and select the permissions this role should have.
Click Save. The new role is then available when you add a member.
Usage
In the side menu, click Usage.
This page shows how much of each product you used in a billing period. In the top menu, select the Usage range.
You see each product you have and its overall usage. Open that product’s own menu for the breakdown. Usage is shown by service, not by flow.
Audit
In the side menu, click Audit.
Use this page to trace each action users take on the platform.
Search by IP address, Actor (the user), or Target resource (an email, an account, or a similar record).
Filter by time period, actor type, action, status, and access type. Choose which columns appear in the results.
The first column of each row opens the action detail. Click it to see the full event in a modal.
Other options
The side menu also includes these options. You do not need them to follow this guide.
- API keys. A unique identifier that authenticates a user, developer, or program using Truora products. See Creating Truora API Key.
- Webhooks. Business rules that run an automated action when an event happens. See Creating a rule to trigger actions.
- Status (SLA). Opens the status page with the technical state of Truora services.
- API documentation. Opens the API reference for an API integration.
- Guides. Opens the guides, where you can find more on each product.