TruIdentidad Integration Guide
Welcome to the TruIdentidad Integration Guide! Follow these steps to seamlessly integrate our face validation solution with Registraduria for secure and efficient user validation.
Prerequisites
-
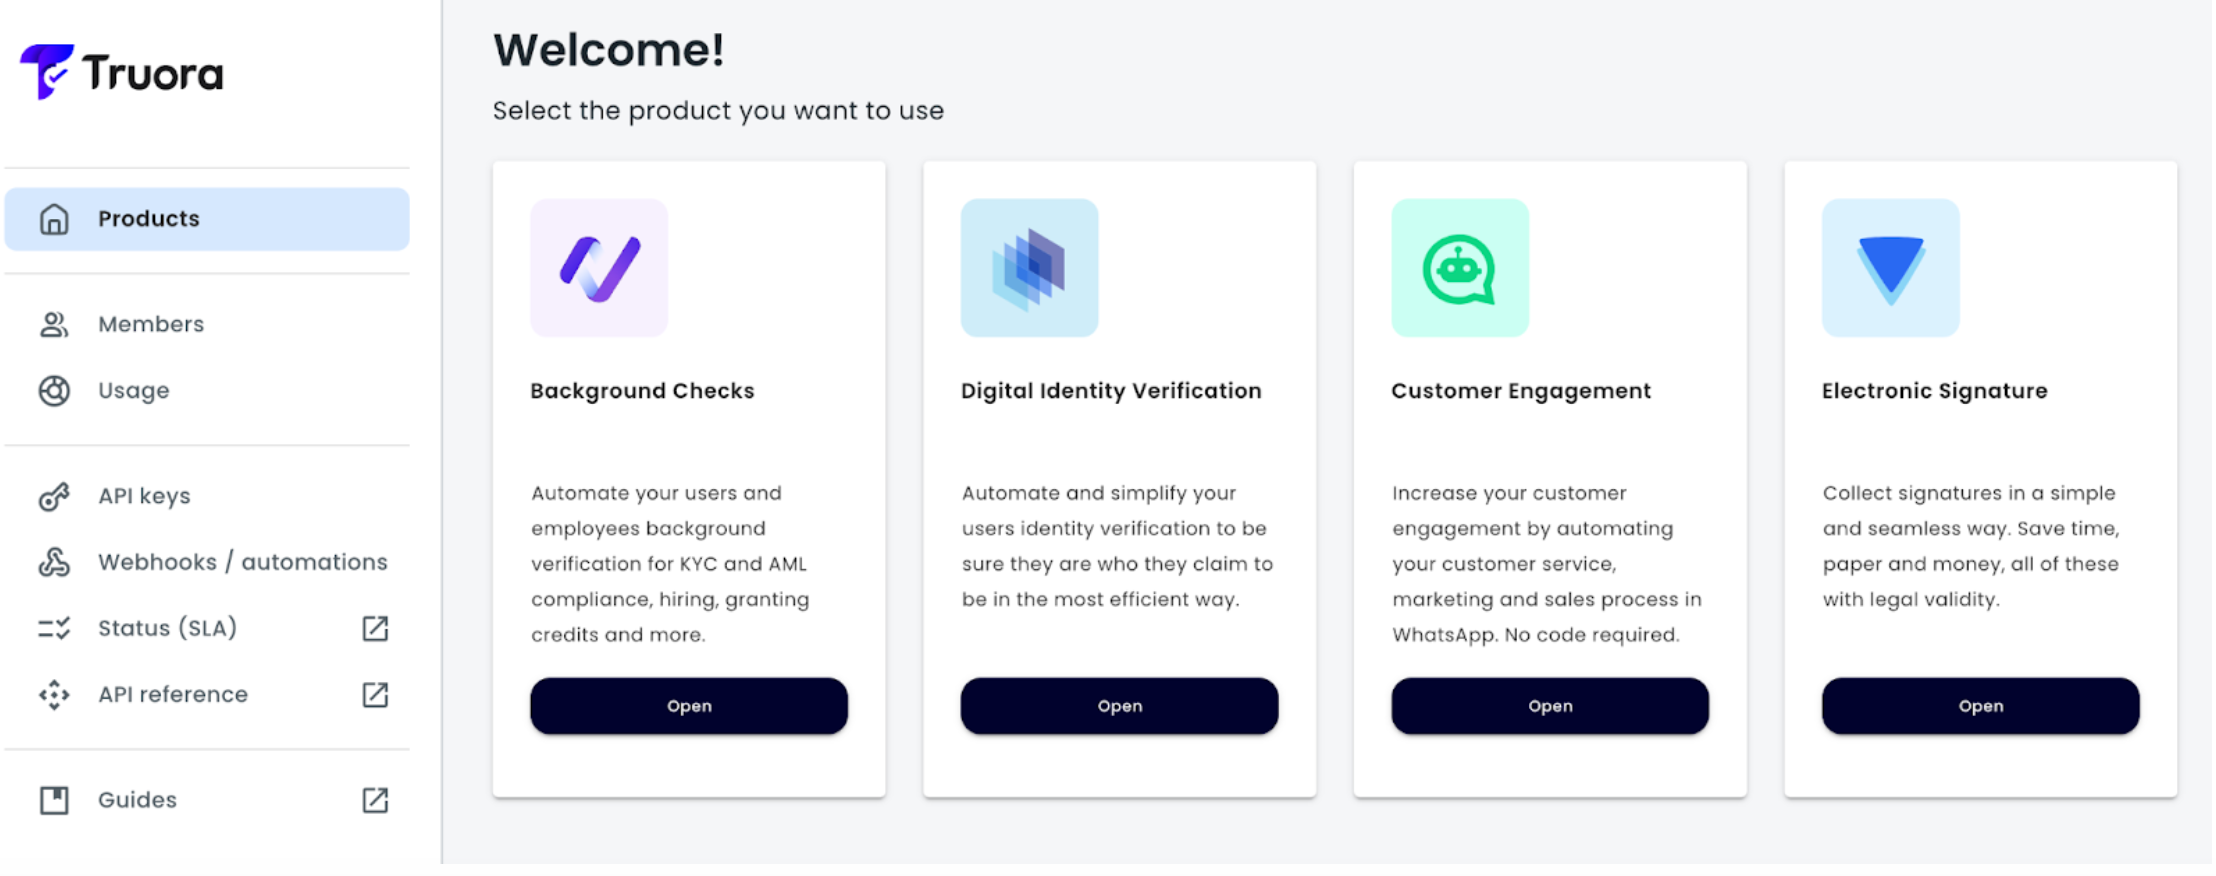
Account Creation: In order to perform an integration in any of our services, you must have a Truora account. Your Truora sales representative will provide you with one, or you can create one for free.
- To create a free account please visit https://account.truora.com/#/create-account.
- To log into your existing account at https://account.truora.com/#/auth/login.
-
Create a Troura API Key: In order to perform an integration in any of our services, you must have a Truora API key. Follow this guide to create your Truora API key.
-
Request Integration with Registraduria: Contact your Truora sales representative to request access to Registraduria integration. If you do not have a sales representative please Contact Us.
-
Approval and Client ID: Your request should be evaluated and approved before continuing.
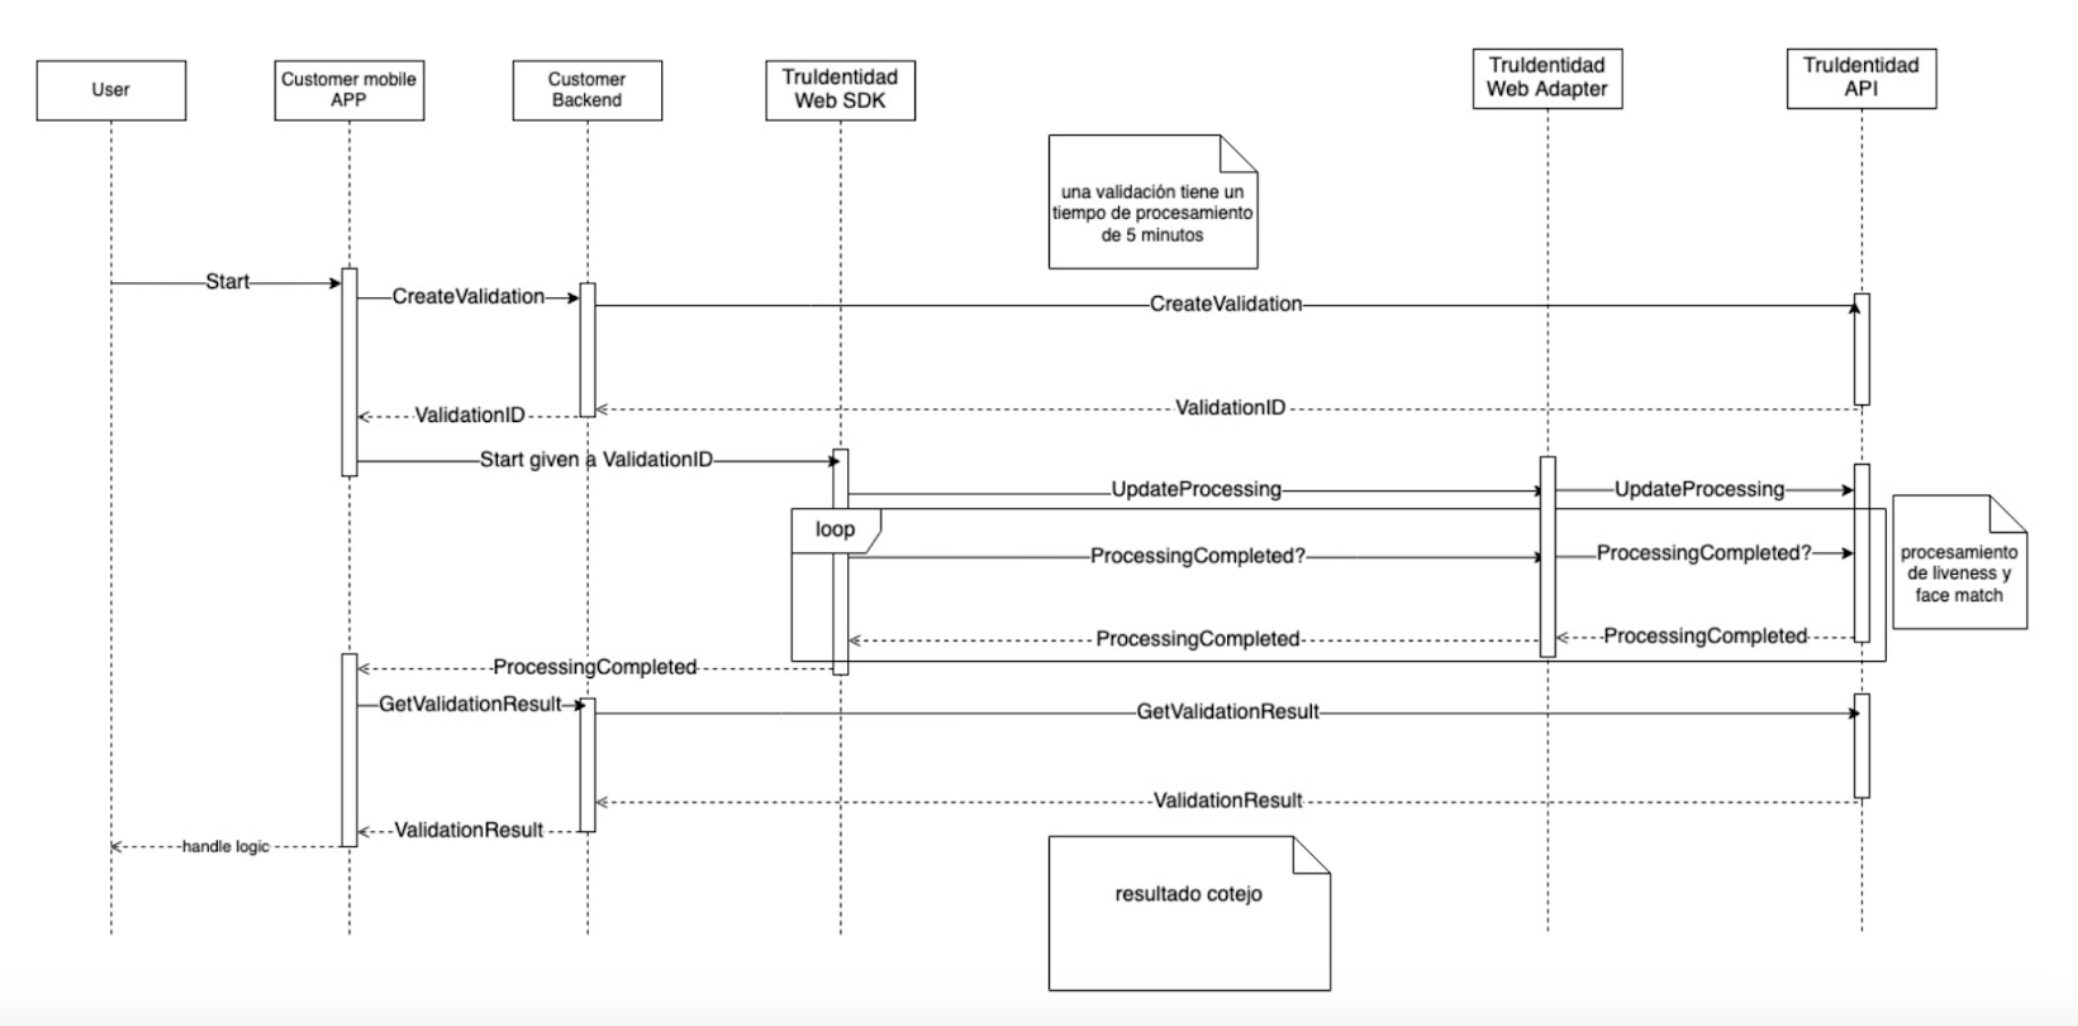
How are the Registraduria validations performed?
- Validation Initiation: The user clicks the Create Validation button on your frontend to initiate a validation request.
- Backend Processing: The validation request triggers backend processing to create the associated validation in the TruIdentidad API.
- TruIdentidad Web SDK: Pass the obtained SessionID to the TruIdentidad Web SDK for Registraduria validation.
- Web Adapter Communication: The TruIdentidad Web SDK sends a request to the TruIdentidad Web Adapter, which communicates with the TruIdentidad API.
Integration
The TruIdentidad solution will integrate via API, WEB, IOS and Android SDK allowing you to validate a user against Registraduria. For more details about integration, please visit the available guides.
API - Create Validation
-
Create a
POSTrequest to Create Validation endpoint:https://api.validations.truora.com/v1/validations. -
Add the next headers
Truora-API-Key: «value» Get a Truora API key.Content-Type: application/x-www-form-urlencoded
-
Add the following params in the request body with their respective values
type: governmentaccount_id: «value» Note that only Account IDs following the regex pattern [a-zA-Z0-9_.-]+ are supported. Please go to Create an Account ID to learn more about it.redirect_url: “https://www.truora.com/redirect" redirection URL once liveness is finished.user_authorized: “true” user gave consent.nuip: “1234567892” document number of the person to capture liveness.
-
After the Validation is created, you will receive a response similar to the following, in JSON format:
Response 200
Note: Please save the validation_id and session_id value from the response, as you will need it in subsequent steps.
WEB SDK
- Follow the steps explained in the Create Validation section.
- Download and integrate the SDK using a script on your website. Below, we provide an example using HTML and JavaScript.
- Note: The
session_idrequested at this point refers to thesession_idobtained in the previous section Create Validation.
- Use the
on_completeandon_expiredevents to know when to check the validation result. For more information on how to obtain the results, please refer to the Getting Results section later in this same guide.on_errortriggers when an error occurs when trying to capture the liveness input.
Result Retrieval
General approach
- Polling for Processing Status: The frontend component should perform polling to obtain the processing status of the validation.
- Result Retrieval: Once processing is complete, your backend should make a call to obtain the result.
- Display Results: Display success or failure views in your secure environment based on the obtained result.
Getting Results
Fetch validation current state. The validation_status can either be success or failure at the end of the validation. In the meantime, it will be pending.
- Pending occurs when the validation is being processed.
- Success occurs when the face was successfully recognized in the video.
- Failure can occur due to an internal error, a timeout, or if the face recognition is declined.
Note: You need the validation_id from the Create Validation request.
Results can be obtained by either Dashboard, or doing Polling; all processes are explained below.
Polling - Get Validation
- Create a
GETrequest to Create Validation endpoint:https://api.validations.truora.com/v1/validations/{validation_id}. - Add the next headers
Truora-API-Key: «truora api key» Get a Truora API key.Content-Type: application/x-www-form-urlencoded
- Add the following path params in the request with their respective values
validation_id: «value»
Note: The validation_id requested at this point refers to the validation_id obtained in the Create Validation request.
- You will receive a response similar to the following, in JSON format:
Response 200
- Please note that this validation will only inform you whether it is successful or not. No user information will be provided.
Front (Dashboard)
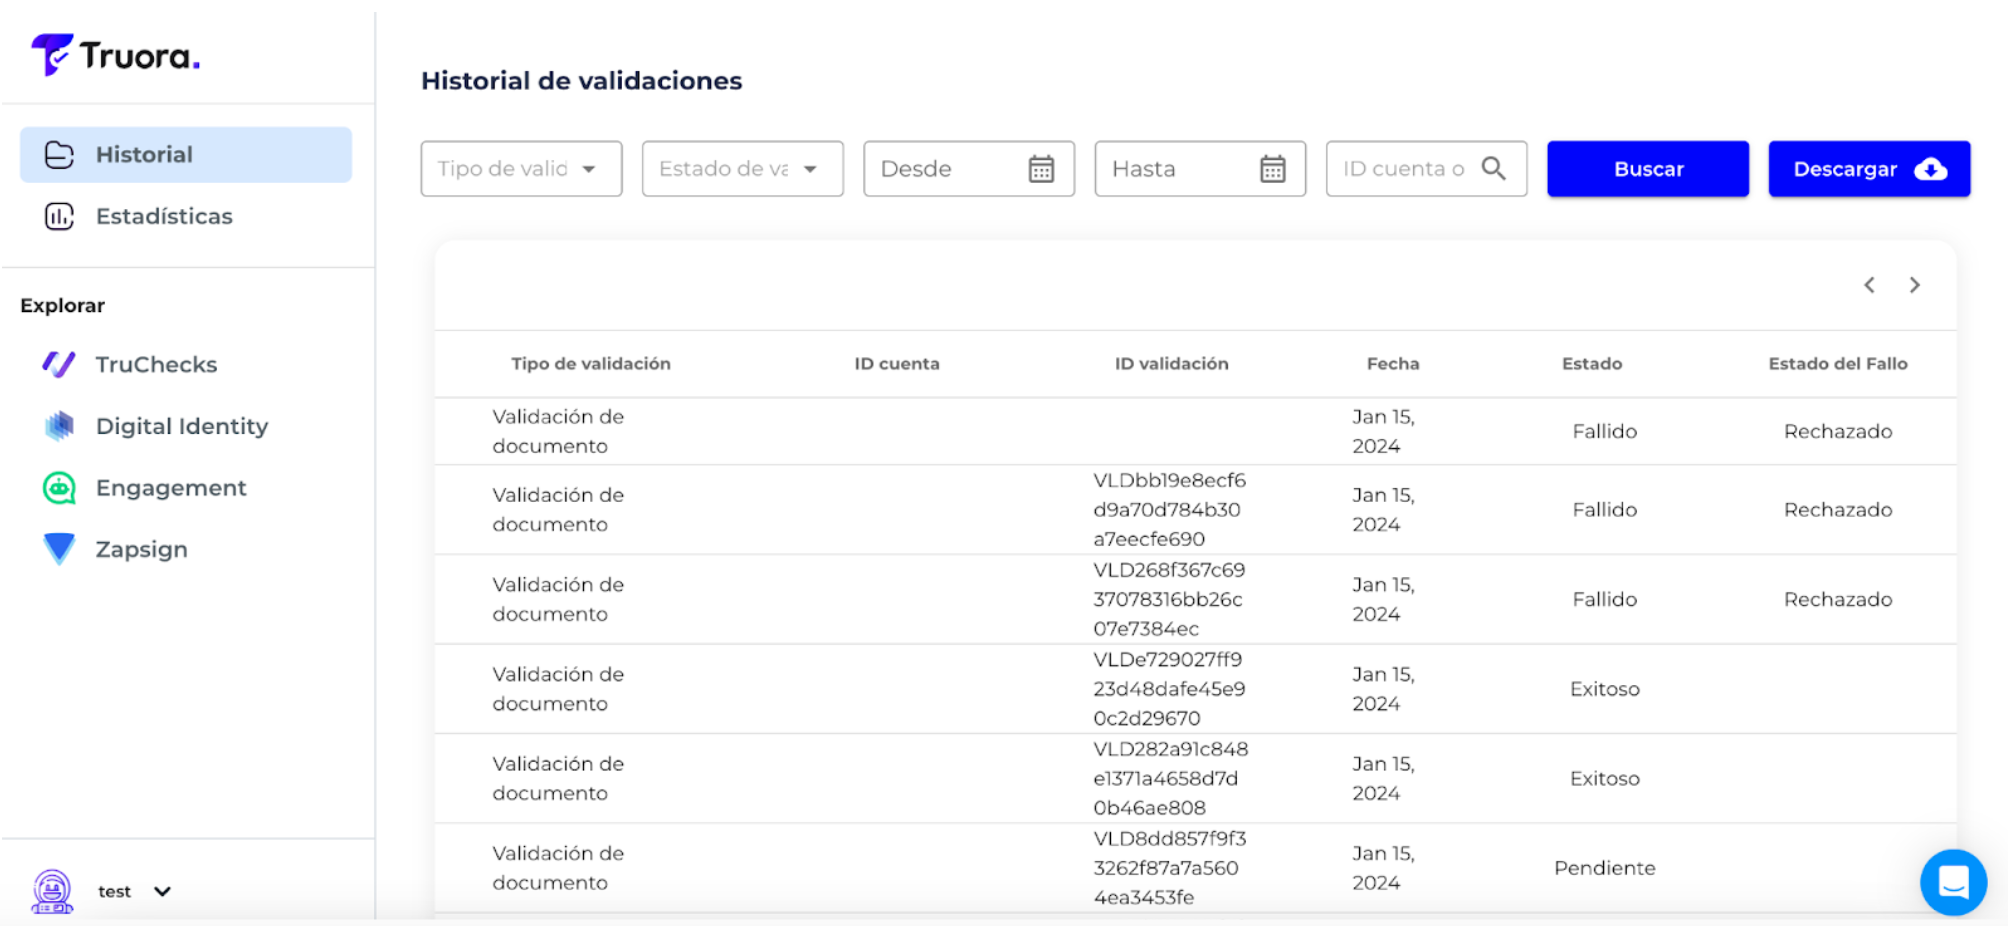
- From the Truora’s Dashboard you can filter the results of a Validation by the validation_id. This is a unique identifier assigned to each Validation.
- To see the result of each validation you need to go to Digital Identity Verification > Validation Results.
- This will redirect you to a dashboard where you can review the results of the validations performed by your users.
Declined and Expired reasons
Whenever a validation fails due to inconsistencies in the validation process or expires in the validation process, the API provides a reason to indicate why the validation was declined or expired:
- To learn more about the possible declined reasons, please visit the Declined Reasons guide.
- To learn more about the possible expired reason, please visit Expired Reasons guide.
User Validation Journey
The following flow illustrates the steps a user must take once they access the identity validation required by your entity to access your products or services. The process consists of the following steps:
- Introduction to provide clarity of the process to the user.
- Data Processing Policy screen.
- Permission acceptance to access geolocation data.
- Screens for acquiring video for the purpose of performing a liveness test.
- Validation result screen.
- Note: In the case of Web SDK integration, the user will be given the option to complete the process from a desktop or a mobile device.