Guide to integrate Electronic Signature in WhatsApp Flows
When creating a WhatsApp Flow, you can select the Electronic Signature option from the validator blocks. This module provides a link for electronically signing a document or template created in your ZapSign account.
Create Zapsign and Truora Integration
To start using electronic signature as a validator, it is essential to configure the Zapsign integration in your Truora account. This process can be carried out through the Truora platform or via the API.
To do it from the platform, follow the steps detailed below:
-
Once you have accessed the Truora platform, navigate to the Digital Identity section. Next, select the Integrations option. Look for Zapsign and click on Options, then proceed to click on Connect.
-
Enter the API token generated in Zapsign. Next, we’ll show you how to generate this token.
ZapSign Token
-
Sing in in your ZapSign account or create one.
-
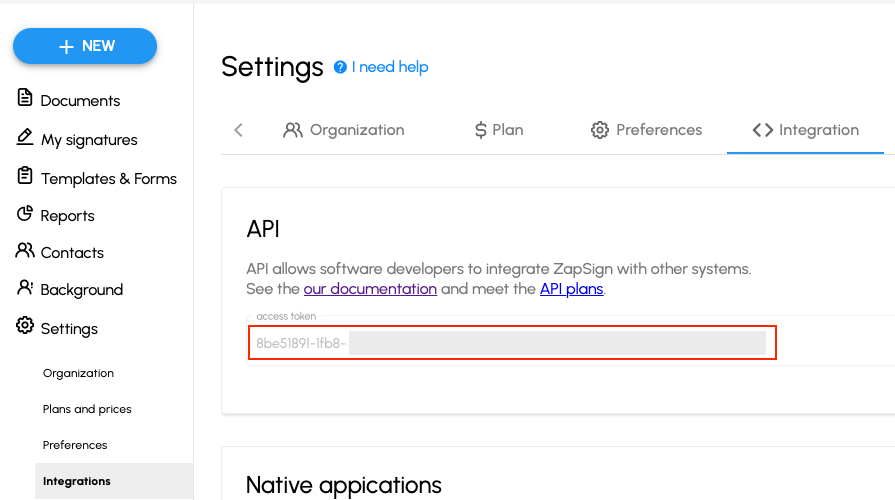
Within your Zapsign account, select Settings > Integration. Bellow, in the API section, you can copy your Zapsign token:
Creating the flow
-
To get started, log in to the Truora dashboard. For instructions on how to create a WhatsApp Flow, please refer to the Create a WhatsApp flow. We will start by logging in to Truora dashboard.
-
Once you have created and named your flow, navigate to the flow builder and select the Electronic Signature option from the left-hand menu. Drag and drop this block to add it to your flow.
- When you select the Electronic Signature option, the properties will appear on the right side of the screen. You must configure the integration in order to save and publish the WhatsApp flow.
- Once you click on Configure Integration, a window will open where you’ll need to select the format of the document you previously created in Zapsign. You have the option to choose between Document or Template. Once you’ve determined the format type, the documents created earlier and available for association in the validation will appear.
- If you select the Template option, the variables you’ve created will be displayed, and you’ll have the choice to fill in the information or leave it blank for the user to complete those fields.
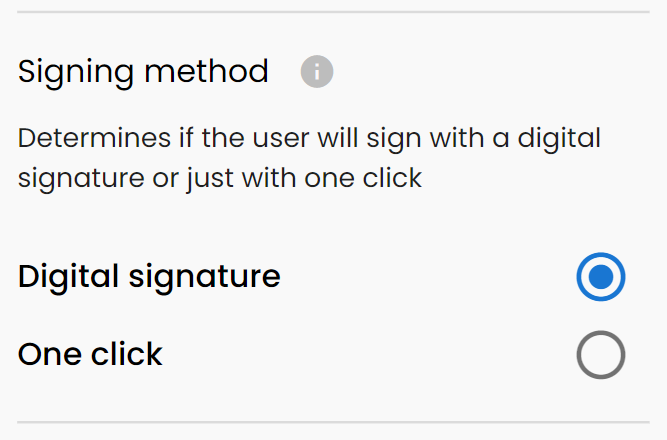
- When configuring the Electronic Signature block, you can choose between two signing methods:
-
Digital Signature: This is the default method. The user will need to manually draw their signature on the screen when signing the document. This provides a more traditional signing experience and creates a visual representation of the user’s signature.
-
OneClick Signature: This method enables users to sign documents with a single click, streamlining the signing process. However, to ensure security and user verification, this method requires either an Email Verification or Phone Verification block to be present in your flow before the Electronic Signature block. These verification steps help authenticate the signer’s identity before allowing the OneClick signature.
- Finally, save and test your flow! Remember that this link is only for testing purposes and will expire after 15 minutes. Check these guides to learn how to generate Inbound or Outbound messages through the Dashboard.