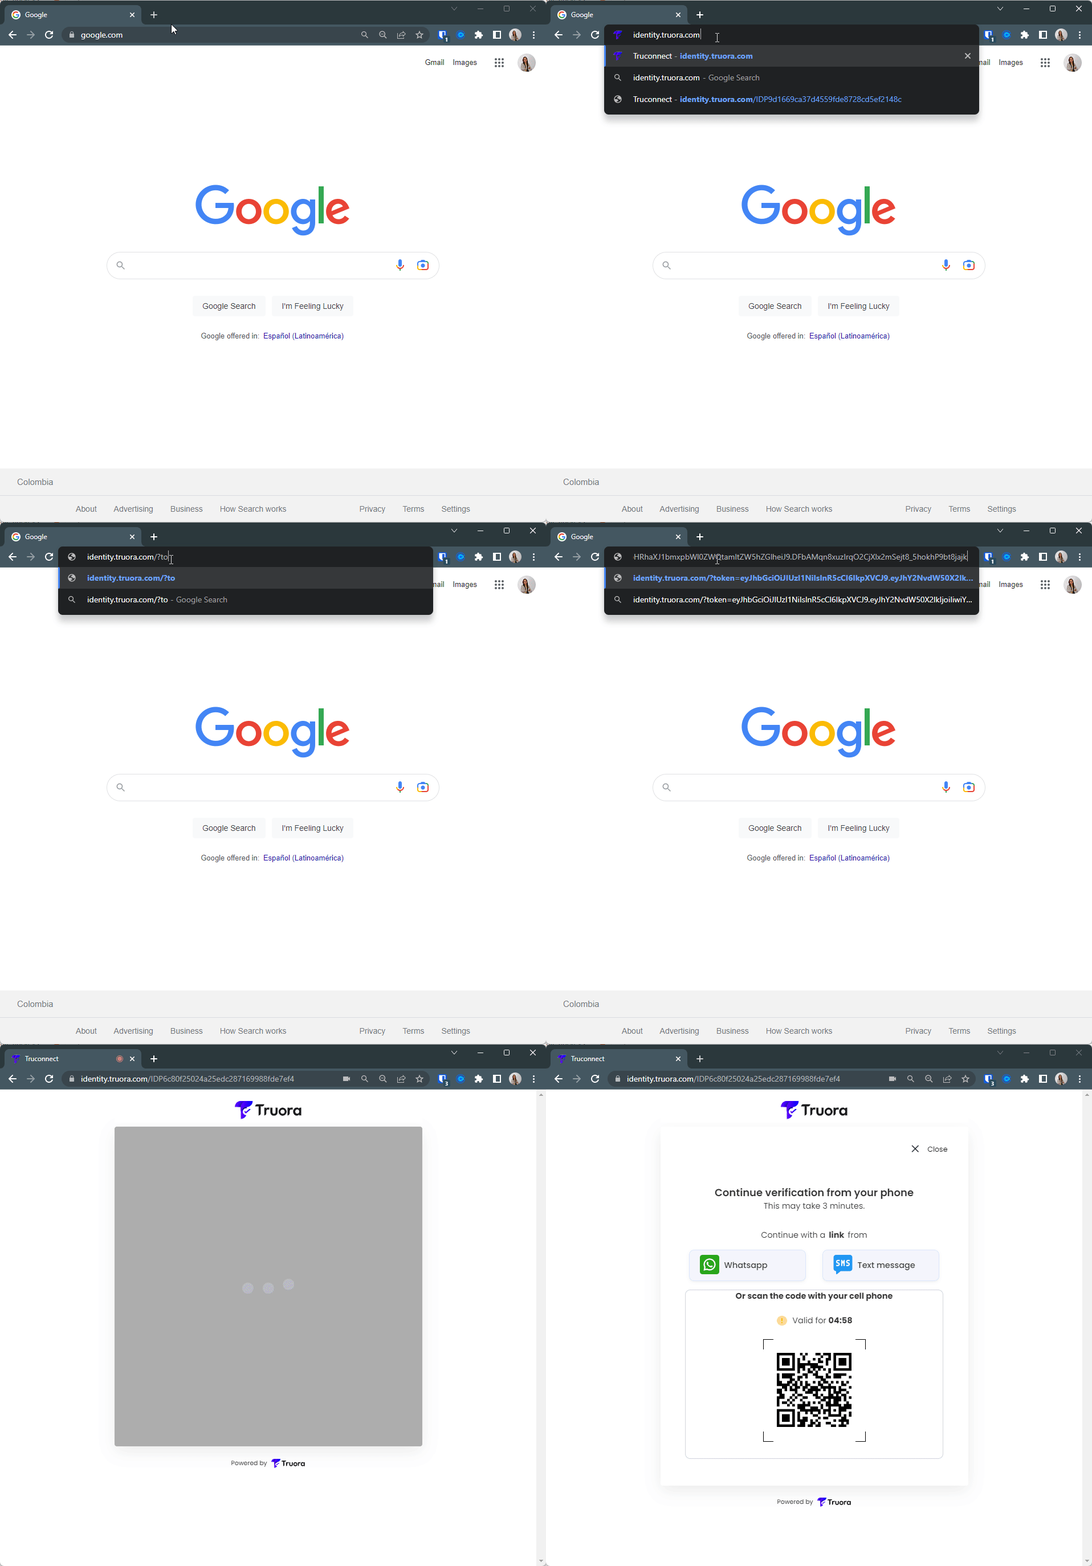
How to create a Web Integration Token
After creating a Web Flow, you will need a Web Integration Token to generate the URL that your user will use to perform identity validations.
Please note that you must generate a different token for each of your users, and that you must generate a different token for each identity validation process that your user will perform.
In order to ease the process, Truora provides a Postman collection online:
Below, you will find the steps to generate the Web Integration Token for the URL that you will provide to your users.
Generate Integration Token
-
Create a
POSTrequest with the next URL:https://api.account.truora.com/v1/api-keys. You can also refer to our API Reference. -
Add the next headers
Truora-API-Key:<truora api key>Get a Truora API keyContent-Type:application/x-www-form-urlencoded
-
Add the following params in the request body with their respective values
key_type:webgrant:digital-identityapi_key_version:1country: The country where the validation is to be performed. Allowed:ALL.redirect_url: URL where the user is to be redirected once the validation is completed.flow_id: From flow creation.account_id: Account ID linked with this validation. Use this ID to trace the validations performed by the account later on. Note that only Account IDs following the regex pattern [a-zA-Z0-9_.-]+ are supported. Please go to Create an Account ID to learn more about it.phone (optional): If your validation flow contains a phone verification step, you can provide the user’s phone number if you have one*. Otherwise, the phone number will be provided by the user when doing the validation process. The format is + country_code phone_number e.g.: +570000000000.emails (optional): If your validation flow contains an email verification step, you can provide the user’s email if you have one*. Otherwise, the email will be provided by the user when doing the validation process.
Note:
- *If you take the option to set it yourself, the user will not be able to modify the phone number or the email, and the OTP code will arrive only to the phone number or email, provided by you.
- If you wish to include additional information in the identity validation process, you can do so by registering the inputs using the following structure
start_variables.metadata., followed by the variable name and its corresponding result. Example:start_variables.metadata.name = juan.
- Send the request and copy the
api_keyfield generated by the response, as you will need it in subsequent steps.
https://api.account.truora.com/v1/api-keys
Build Process URL
To generate the URL, you’ll need the api_key field generated in the Generate Integration Token section.
- Use the base URL https://identity.truora.com/?token=<api_key> and set the
api_keyvalue to perform the validation process and share the link.

Note: The Web Integration Tokens have a 2 hours shelf life by default
Get Process Status
- The
process_idis a unique identifier assigned to each<api key>created in Truora, and it appears at the end of the URL when the flow is started. It is important to keep track of thisprocess_id, as it is required to check the status of the process in the endpoint shown in the next step. Additionally, the API key can be verified on the https://jwt.io/ website to obtain information about the process.
- The current state of the fetch process is to create a
GETrequest using the next URLhttps://api.identity.truora.com/v1/processes/{{process_id}}/result.
- You can also refer to our API Reference.
https://api.identity.truora.com/v1/processes/{{process_id}}/result
The process_status can either be success or failure at the end. In the meantime, it will be pending. Success occurs when the document validation was successful. Failure can occur due to an internal error, a timeout, or if the document validation is declined.
Note: Whenever a validation fails due to inconsistencies in the validation process,a declined reason to indicate the specific reason for the failure Here’s a list of declined reasons.
